
Docker Portainer Install ArchiveBox
-
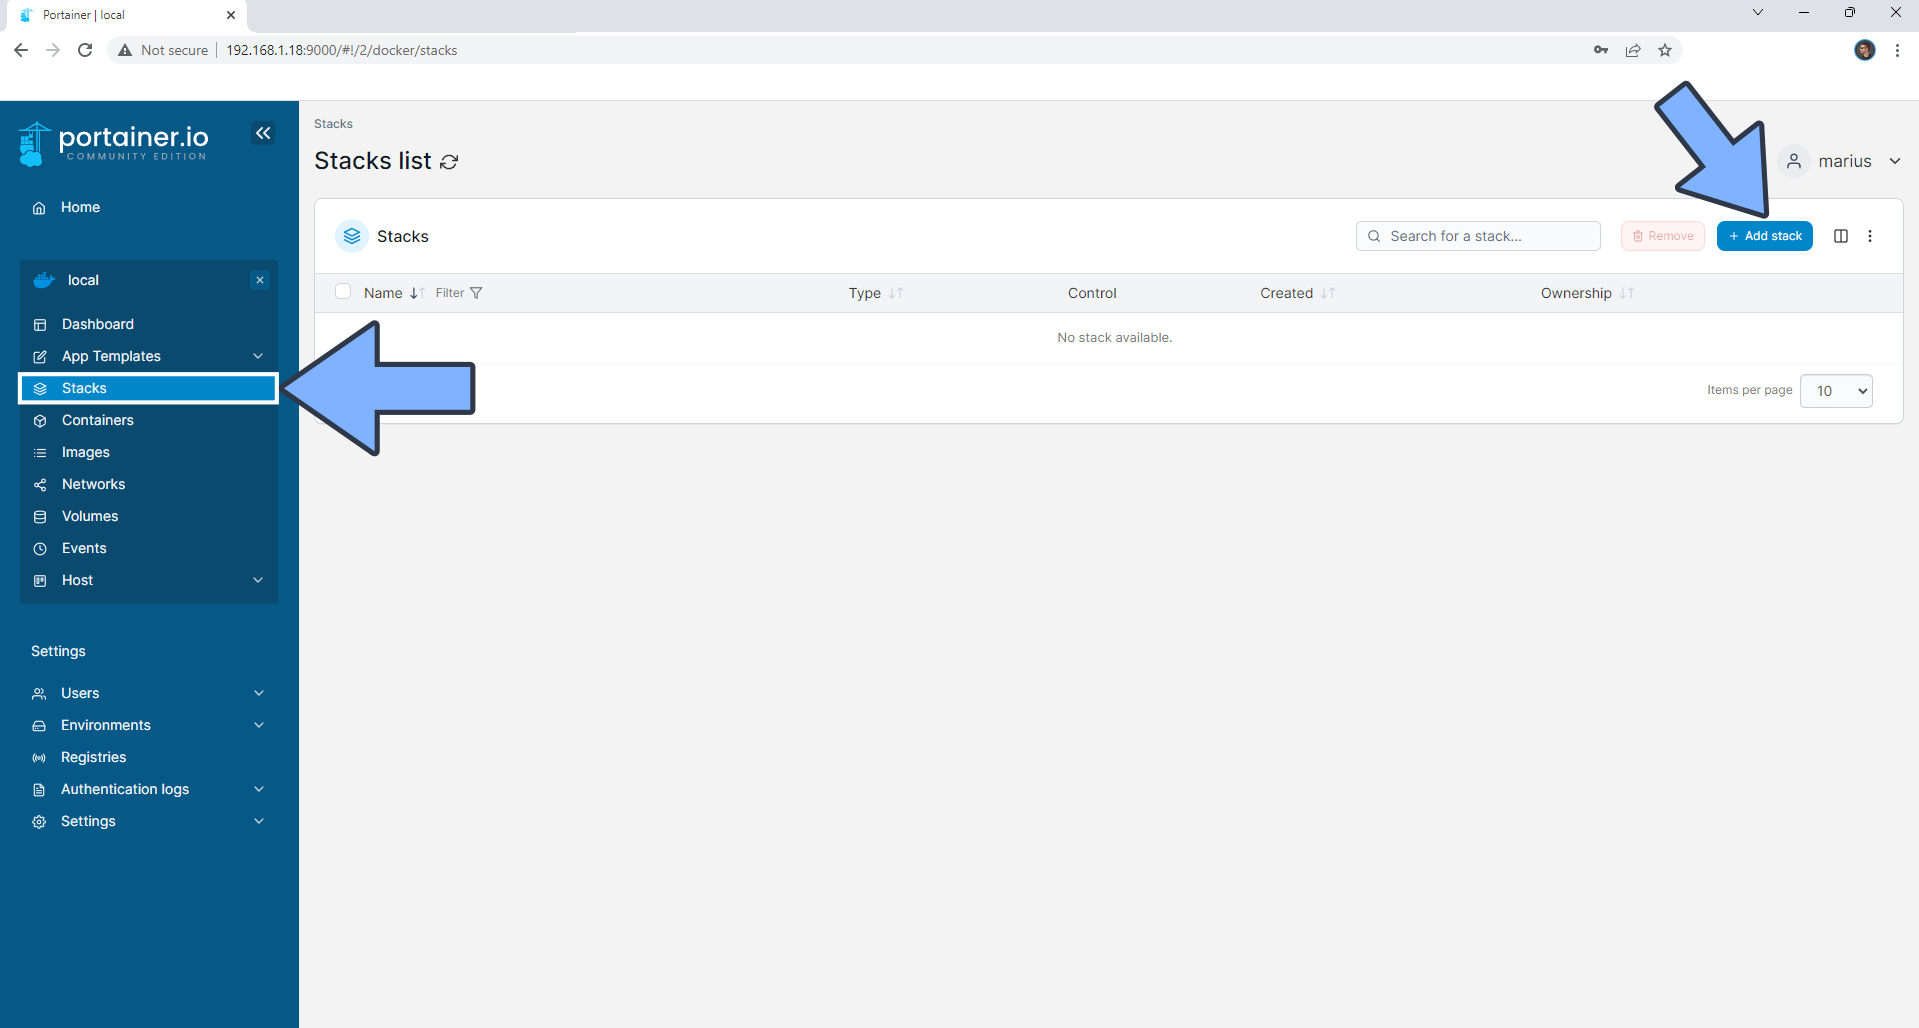
STEP 1
Log into Portainer using your username and password. On the left sidebar in Portainer, click on Stacks then + Add stack. Follow the instructions in the image below.
-
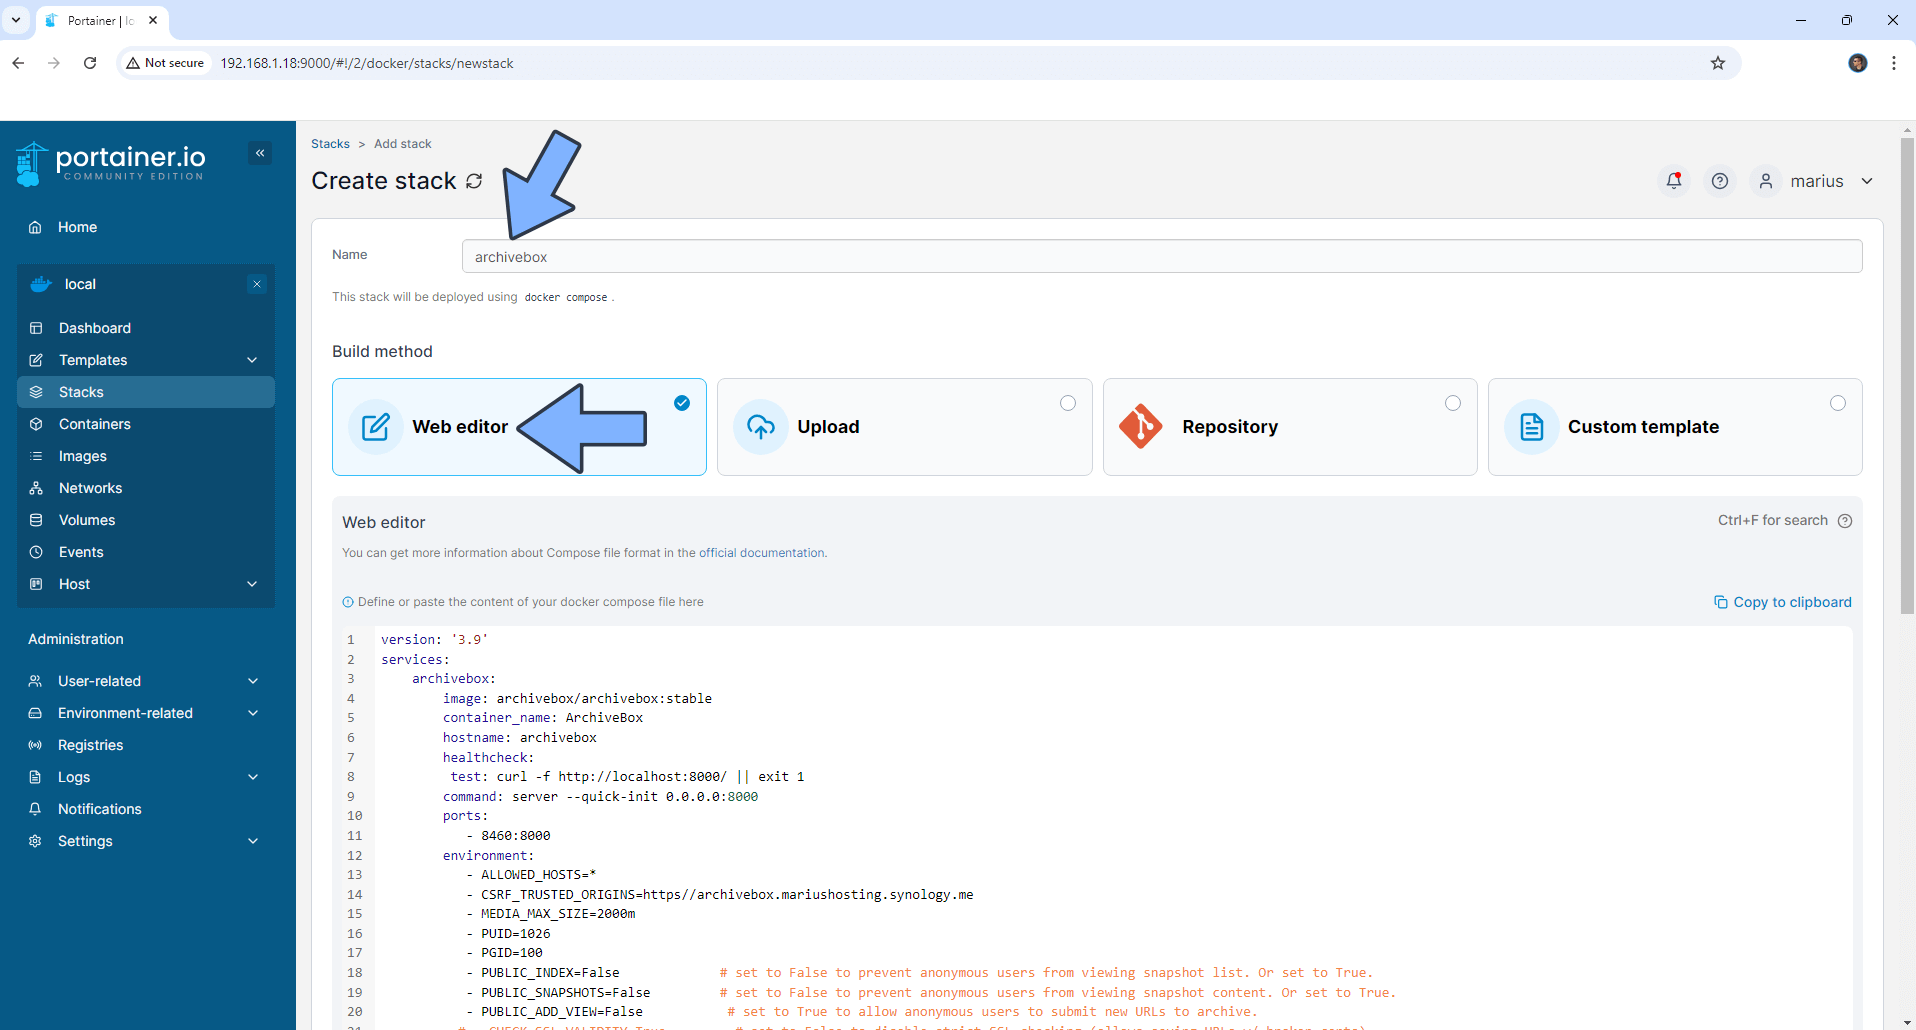
STEP 2
In the Name field type in archivebox. Follow the instructions in the image below.
Note: Copy Paste the code below in the Portainer Stacks Web editor.
version: '3.9'
services:
archivebox:
image: archivebox/archivebox:stable
container_name: ArchiveBox
hostname: archivebox
healthcheck:
test: curl -f http://localhost:8000/ || exit 1
command: server --quick-init 0.0.0.0:8000
ports:
- 8460:8000
environment:
- ALLOWED_HOSTS=*
- CSRF_TRUSTED_ORIGINS=https//archivebox.yourname.synology.me
- MEDIA_MAX_SIZE=2000m
- PUID=1026
- PGID=100
- PUBLIC_INDEX=False # set to False to prevent anonymous users from viewing snapshot list. Or set to True.
- PUBLIC_SNAPSHOTS=False # set to False to prevent anonymous users from viewing snapshot content. Or set to True.
- PUBLIC_ADD_VIEW=False # set to True to allow anonymous users to submit new URLs to archive.
# - CHECK_SSL_VALIDITY=True # set to False to disable strict SSL checking (allows saving URLs w/ broken certs)
# - SAVE_ARCHIVE_DOT_ORG=True # set to False to disable submitting all URLs to Archive.org when archiving
volumes:
- /volume1/docker/archivebox:/data:rw
restart: on-failure:5
Note: Before you paste the code above in the Web editor area below, change the value for CSRF_TRUSTED_ORIGINS and type in your own synology.me DDNS with https:// at the beginning that you have previously created at STEP 6.
Note: Before you paste the code above in the Web editor area below, change the value numbers for PUID and PGID with your own PUID and PGID values. (Follow my step by step guide on how to do this.) 1026 is my personal PUID value and 100 is my personal PGID value. You have to type in your own values.
-
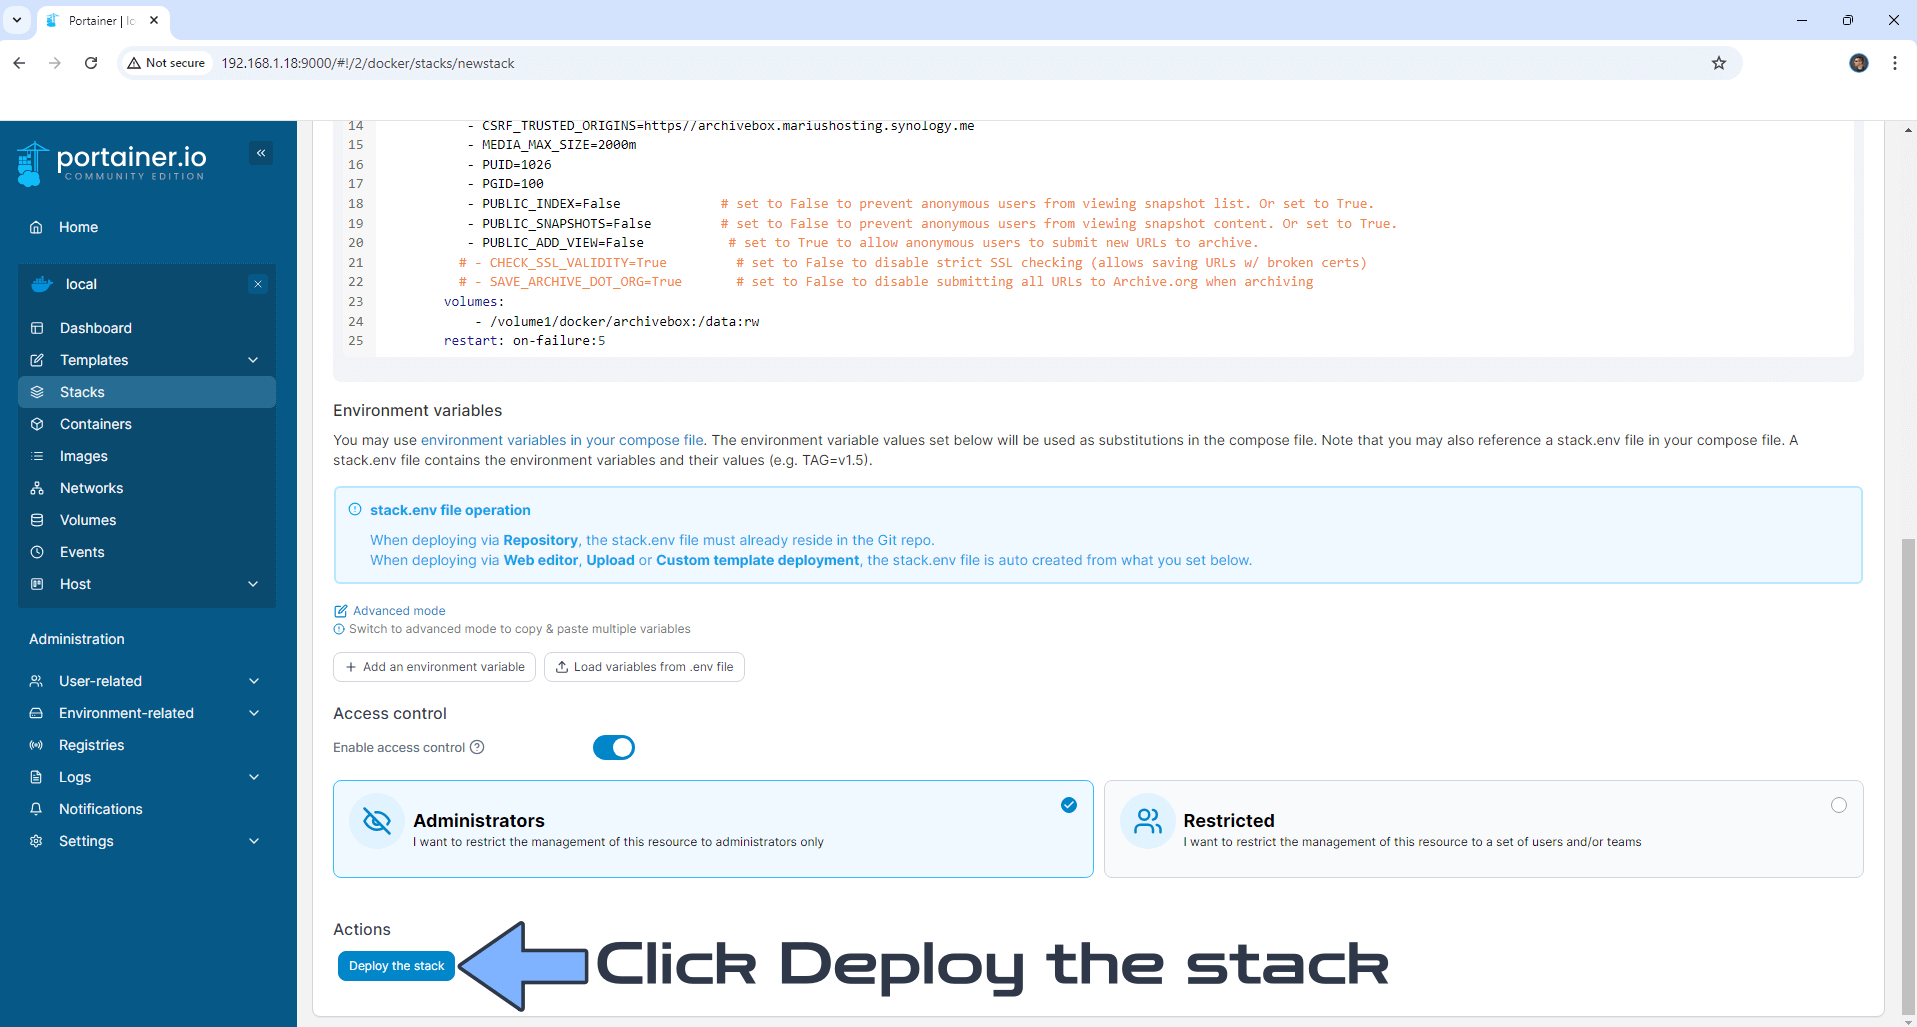
STEP 3
Scroll down on the page until you see a button named Deploy the stack. Click on it. Follow the instructions in the image below. The installation process can take up to a few minutes. It will depend on your Internet speed connection.
-
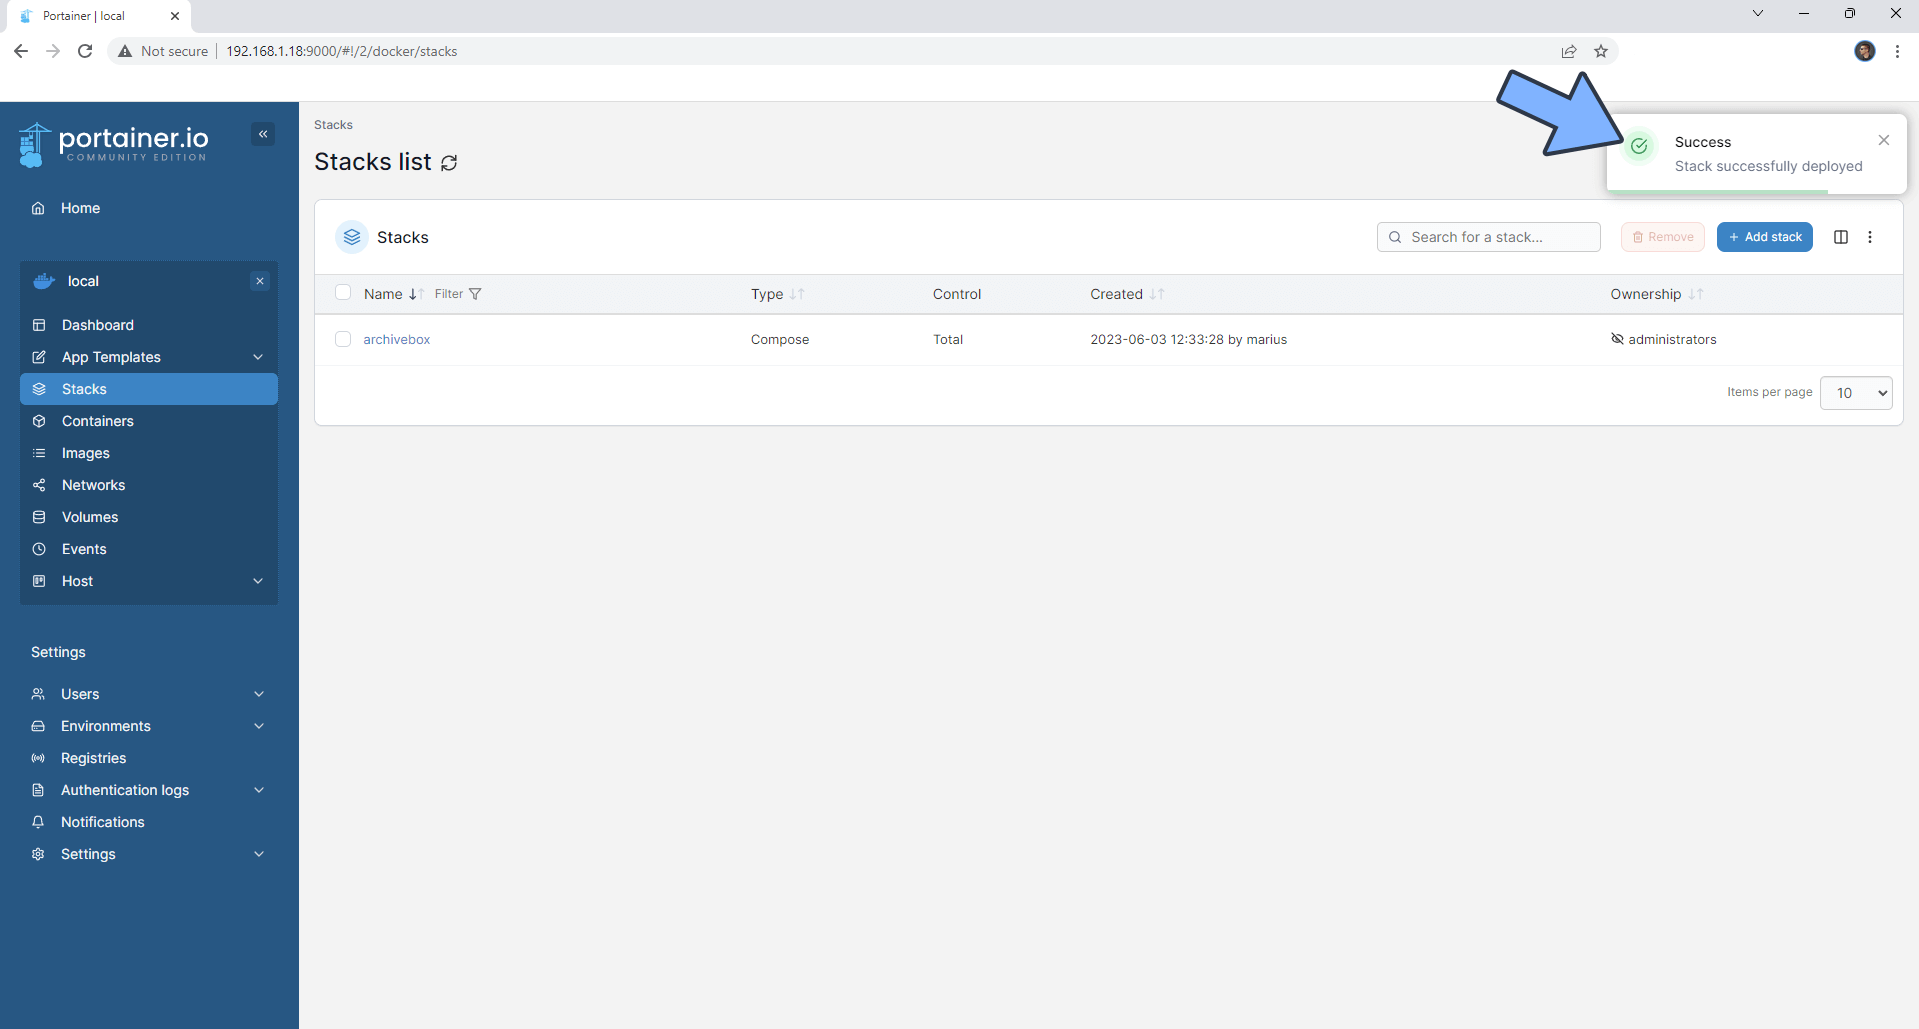
STEP 4
If everything goes right, you will see the following message at the top right of your screen: “Success Stack successfully deployed“.
-
STEP 5
-
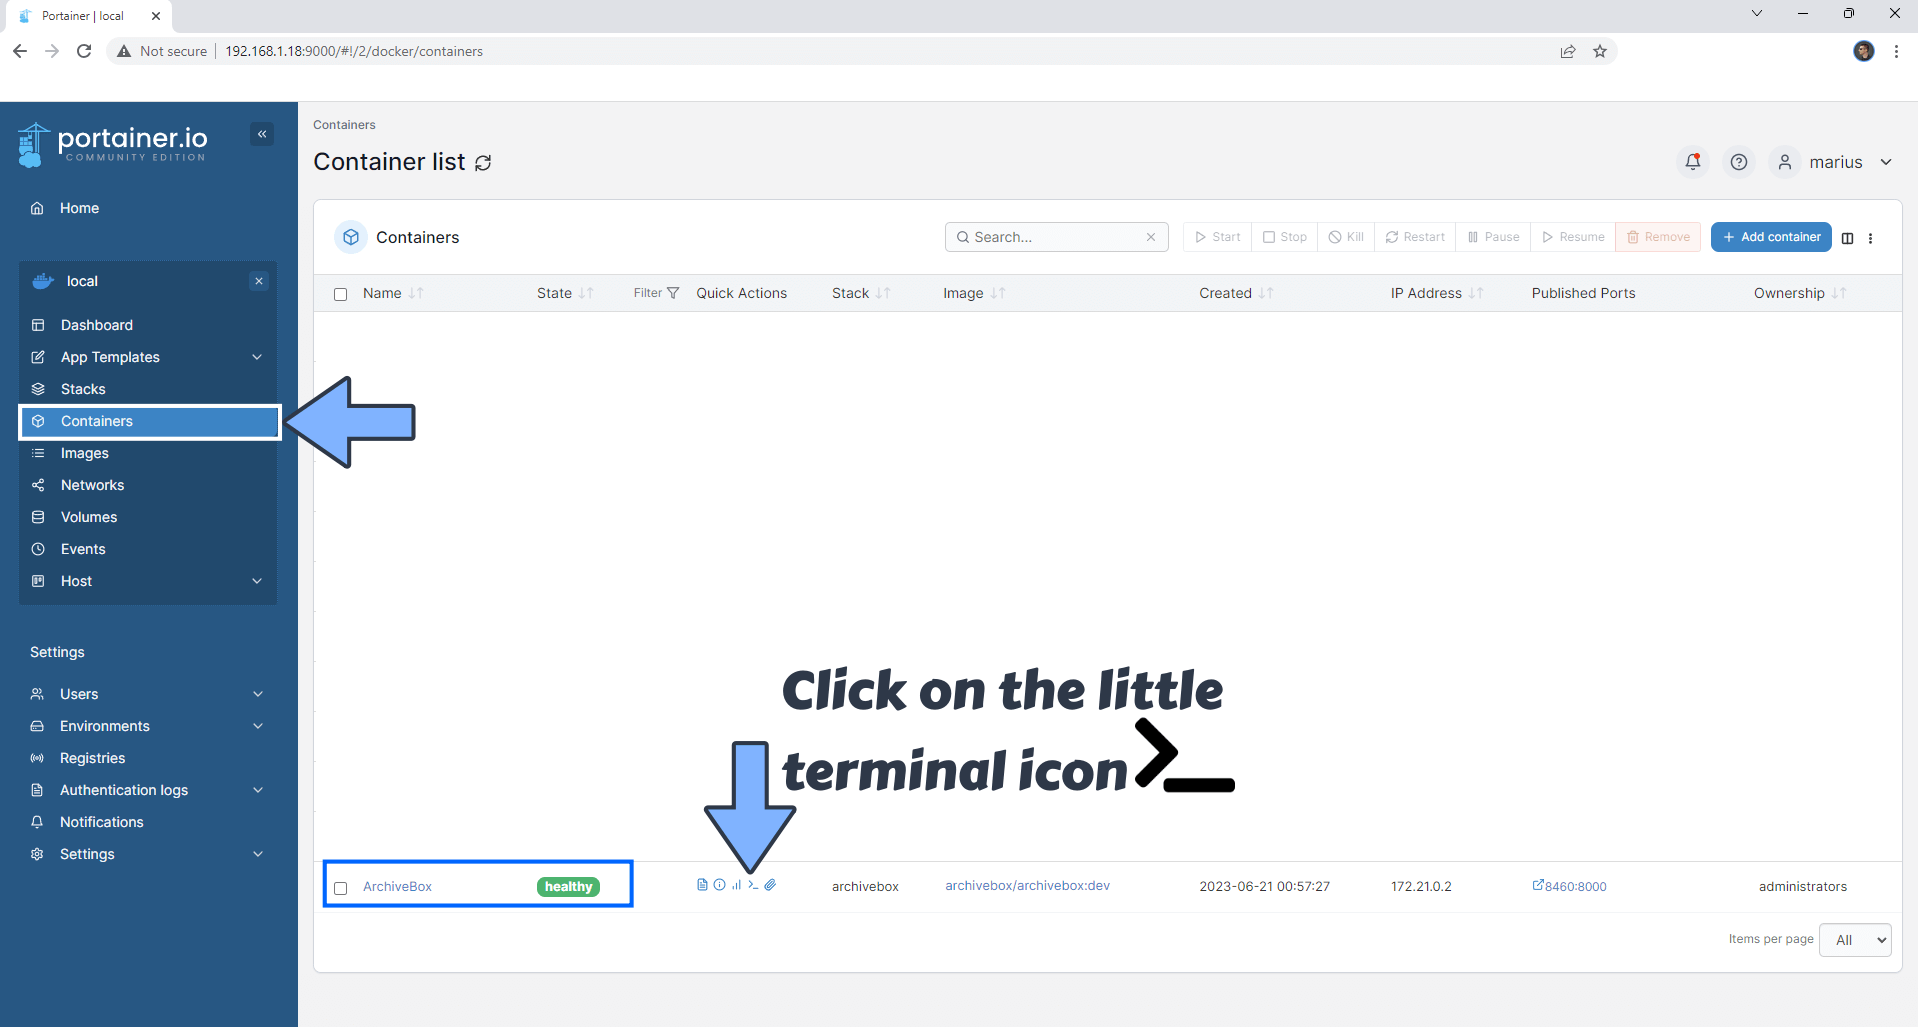
STEP 6
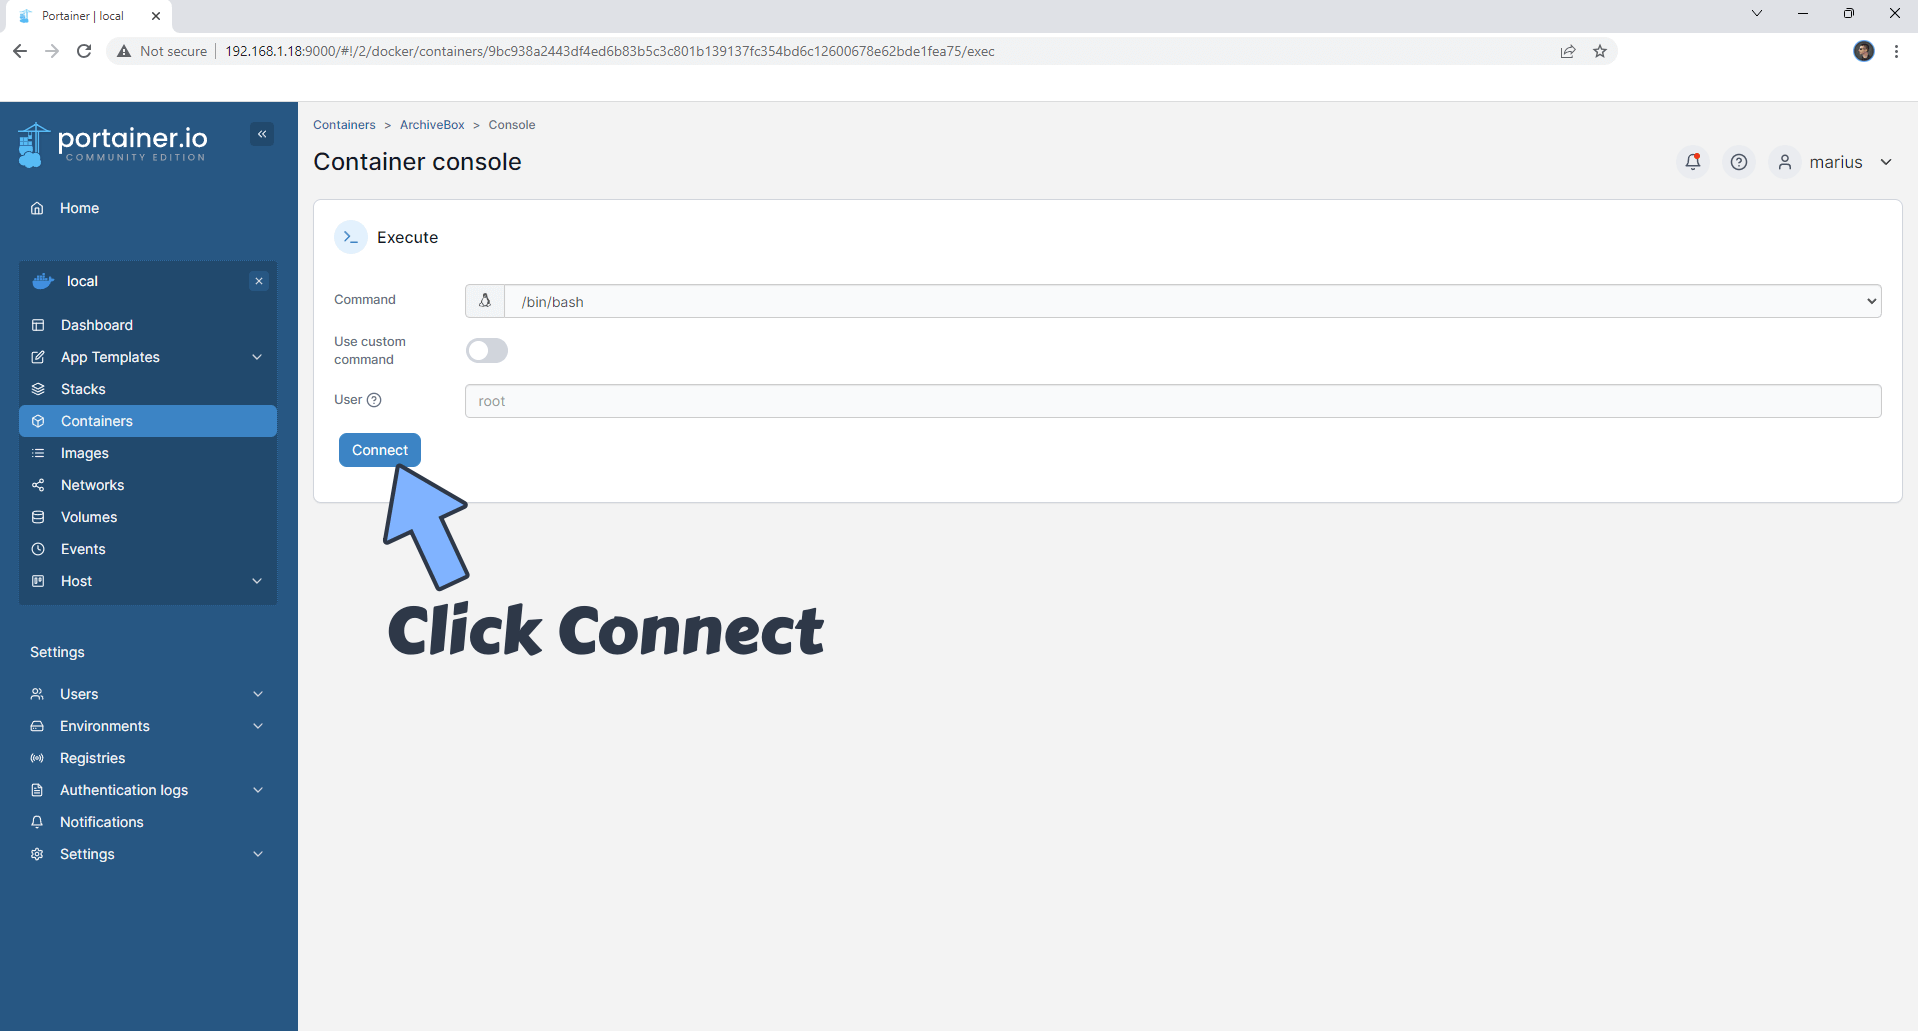
After you click on the little terminal icon at STEP 15, a new page will open. Click Connect. Follow the instructions in the image below.
-
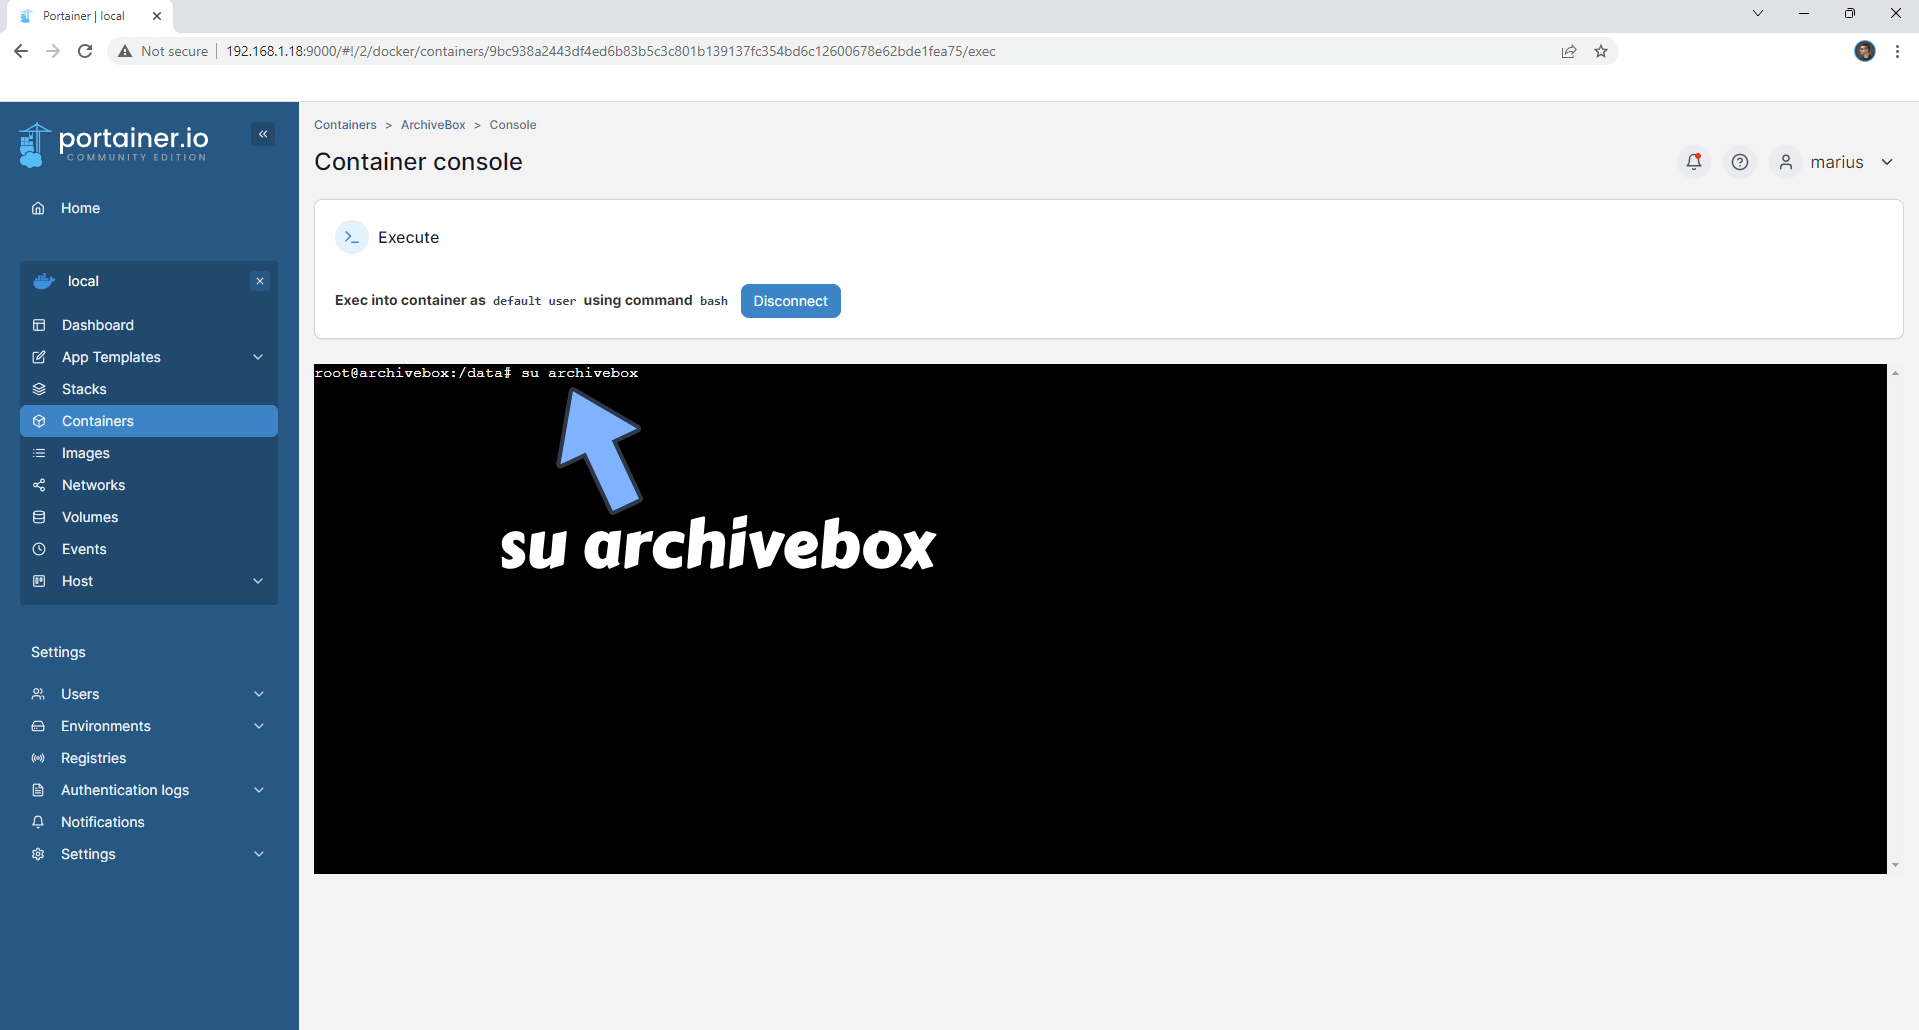
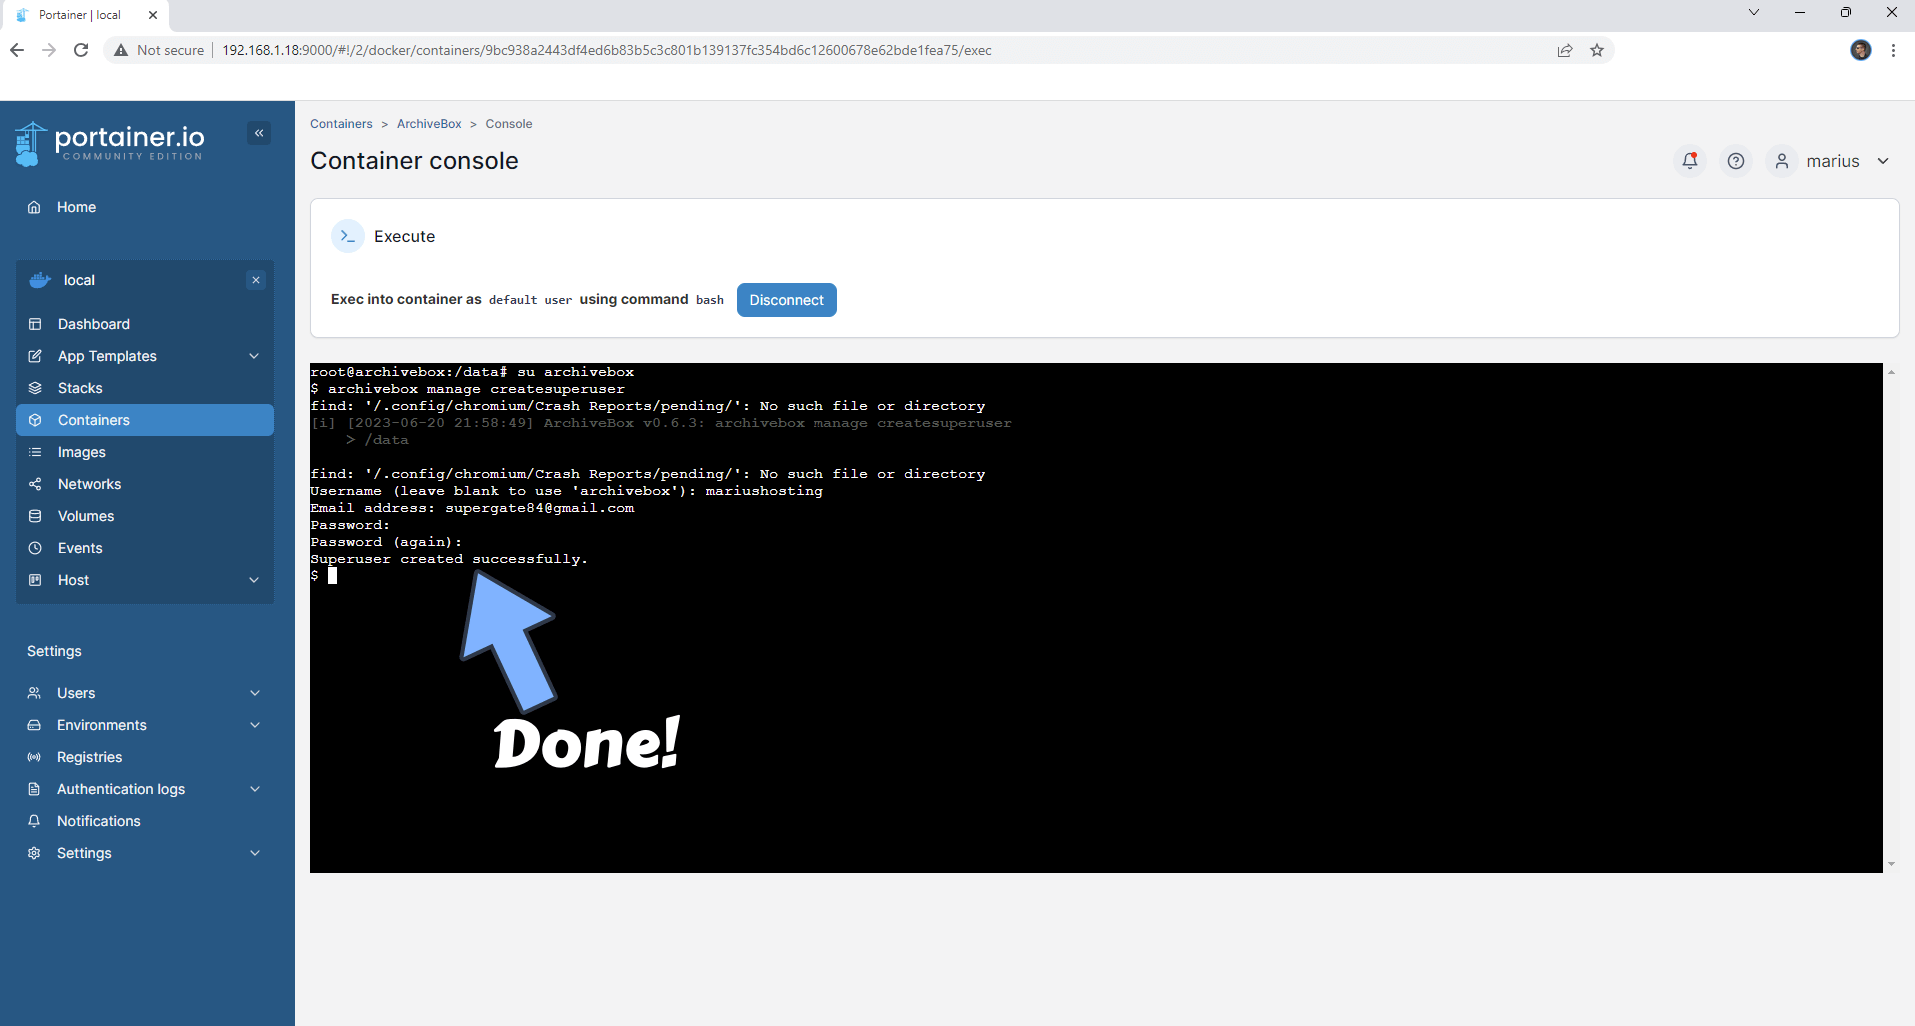
STEP 7
After you click Connect at STEP 16, a Console will open. Copy paste the code below and confirm by pressing Enter on your keyboard. Follow the instructions in the image below.
su archivebox
-
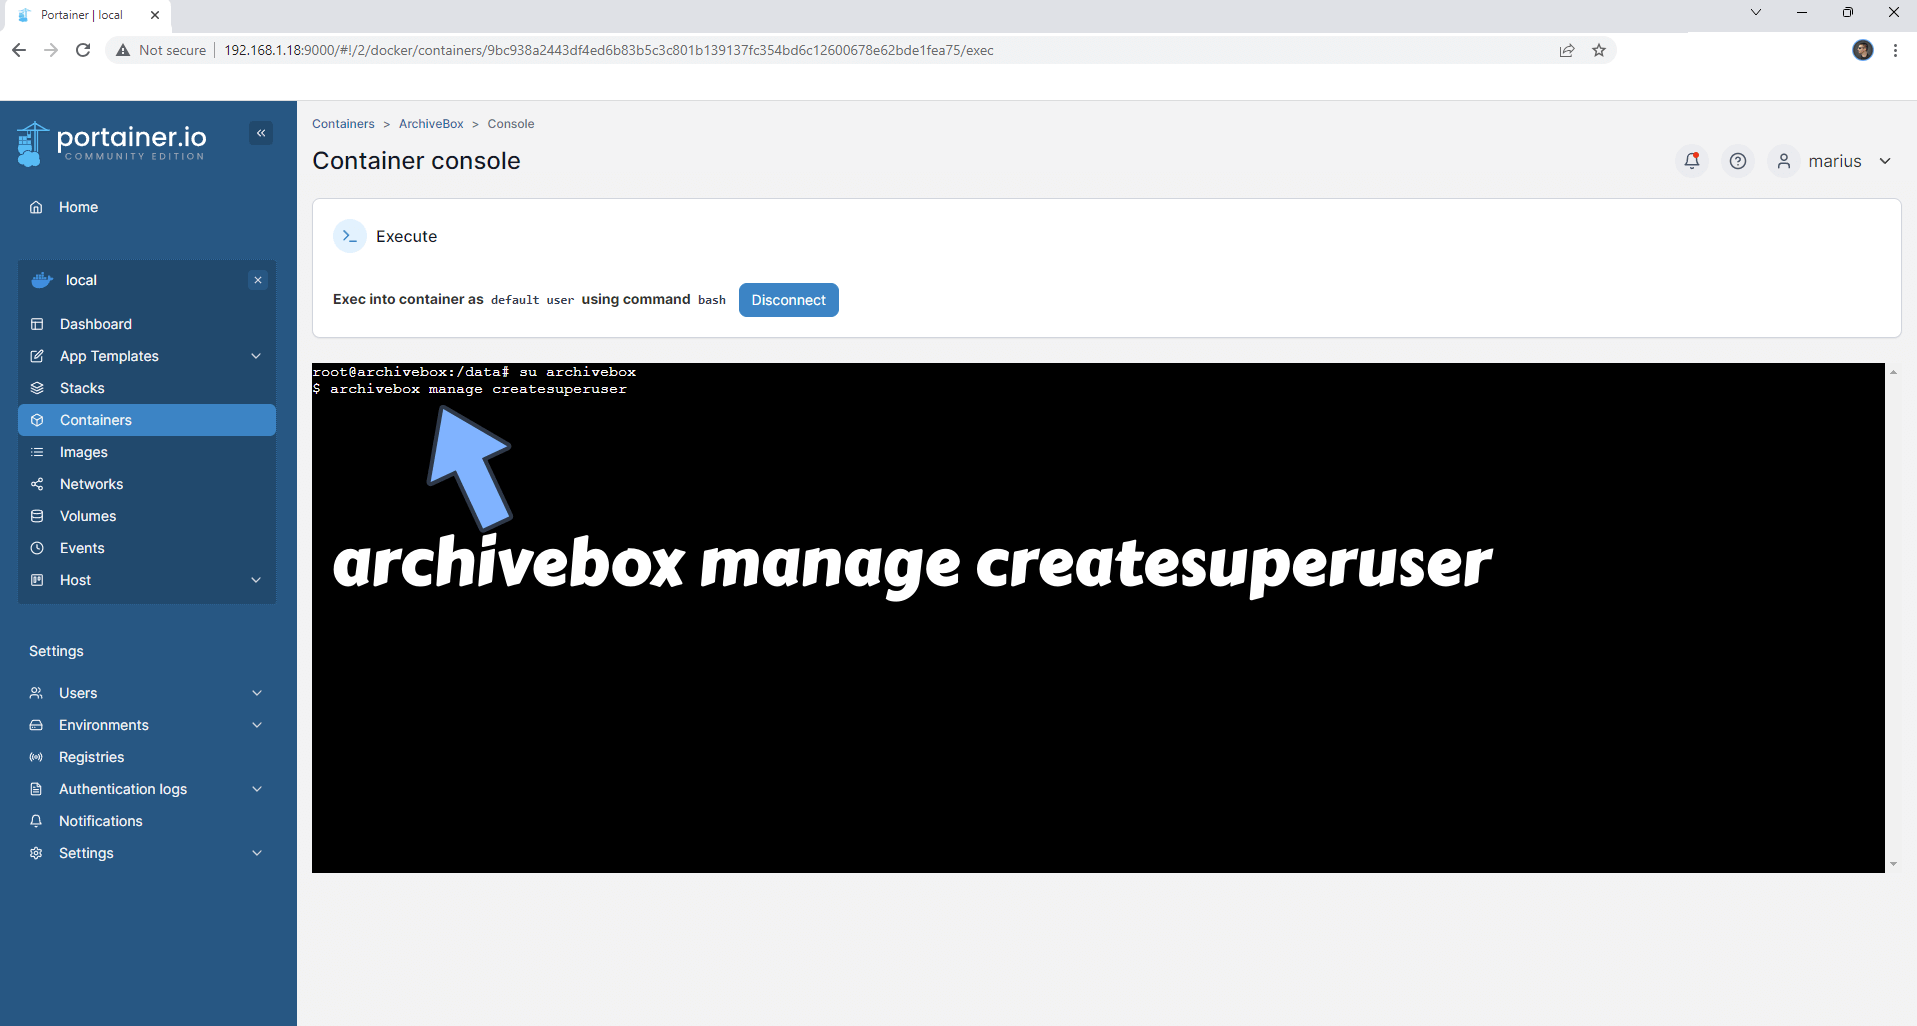
STEP 8
After you press Enter on your Keyboard at STEP 17, copy paste the code below and confirm by pressing Enter on your keyboard. Follow the instructions in the image below.
archivebox manage createsuperuser
-
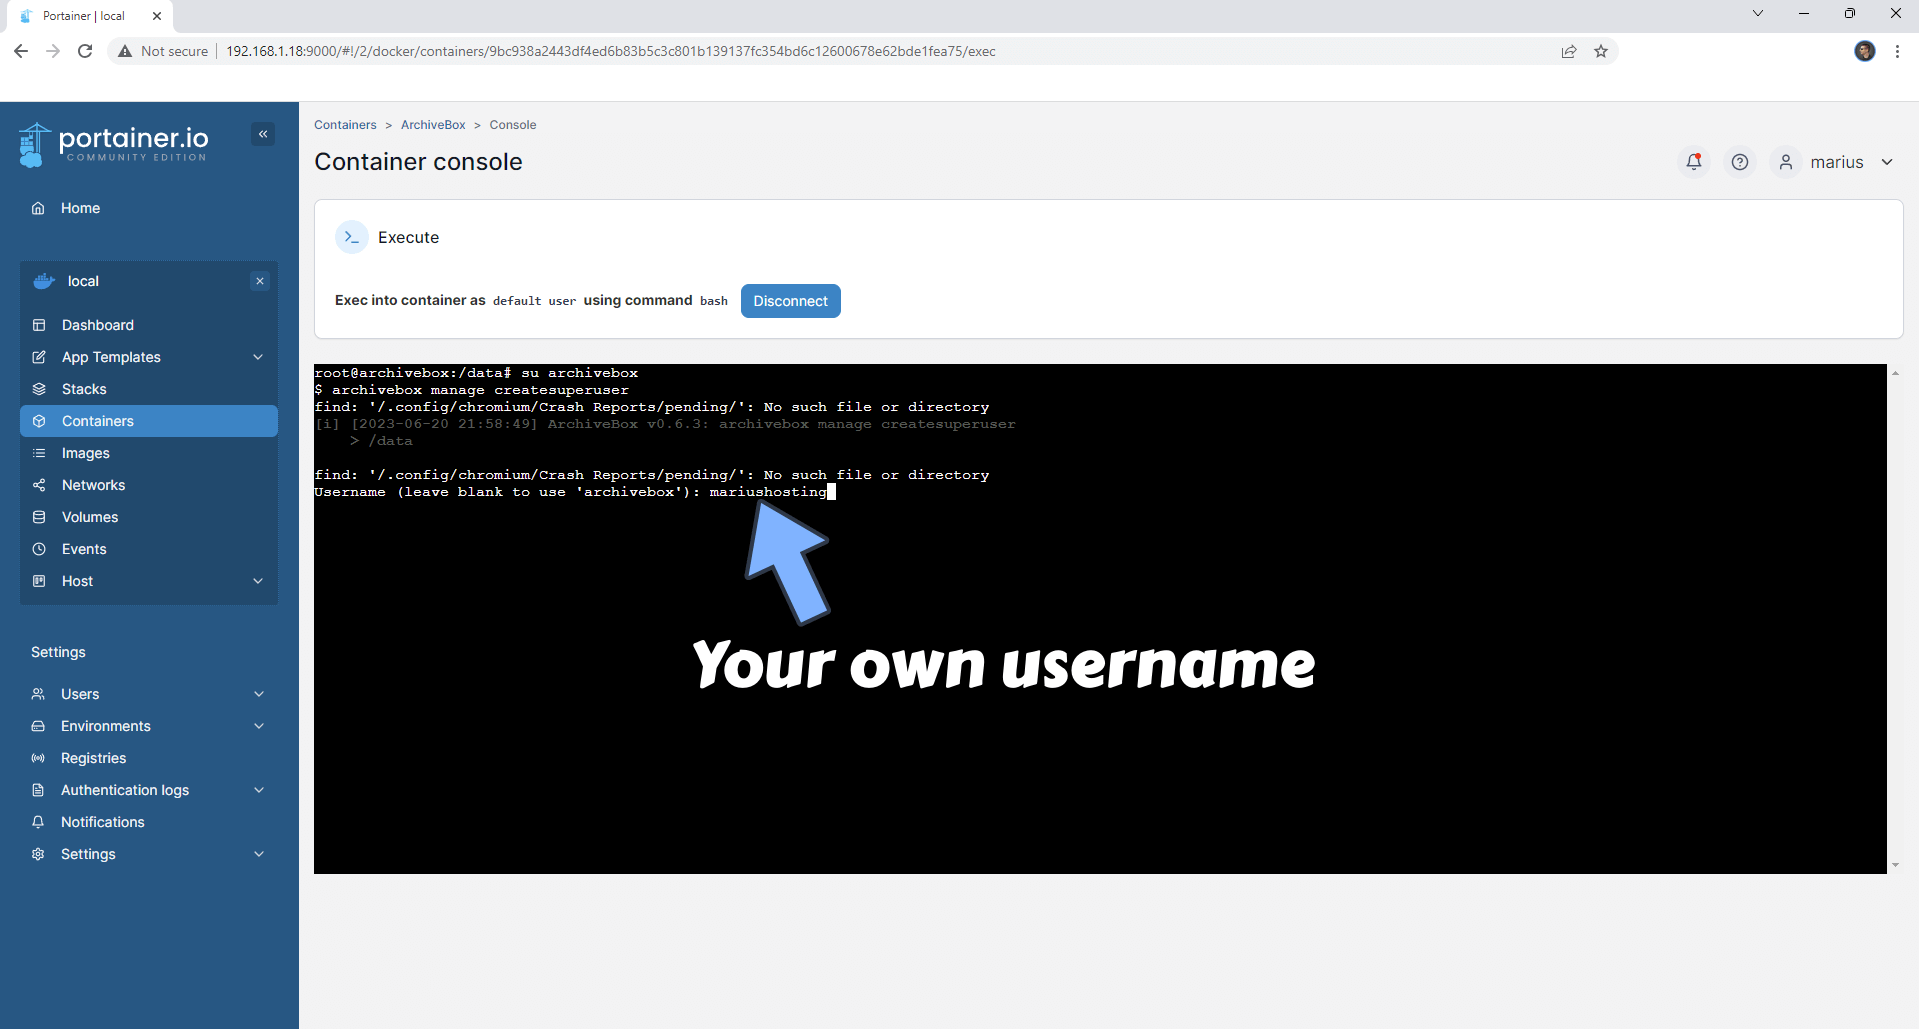
STEP 9
After you press Enter on your Keyboard at STEP 18, you will be asked to type in your own Username. Type in your own username and confirm by pressing Enter on your keyboard. Follow the instructions in the image below.
-
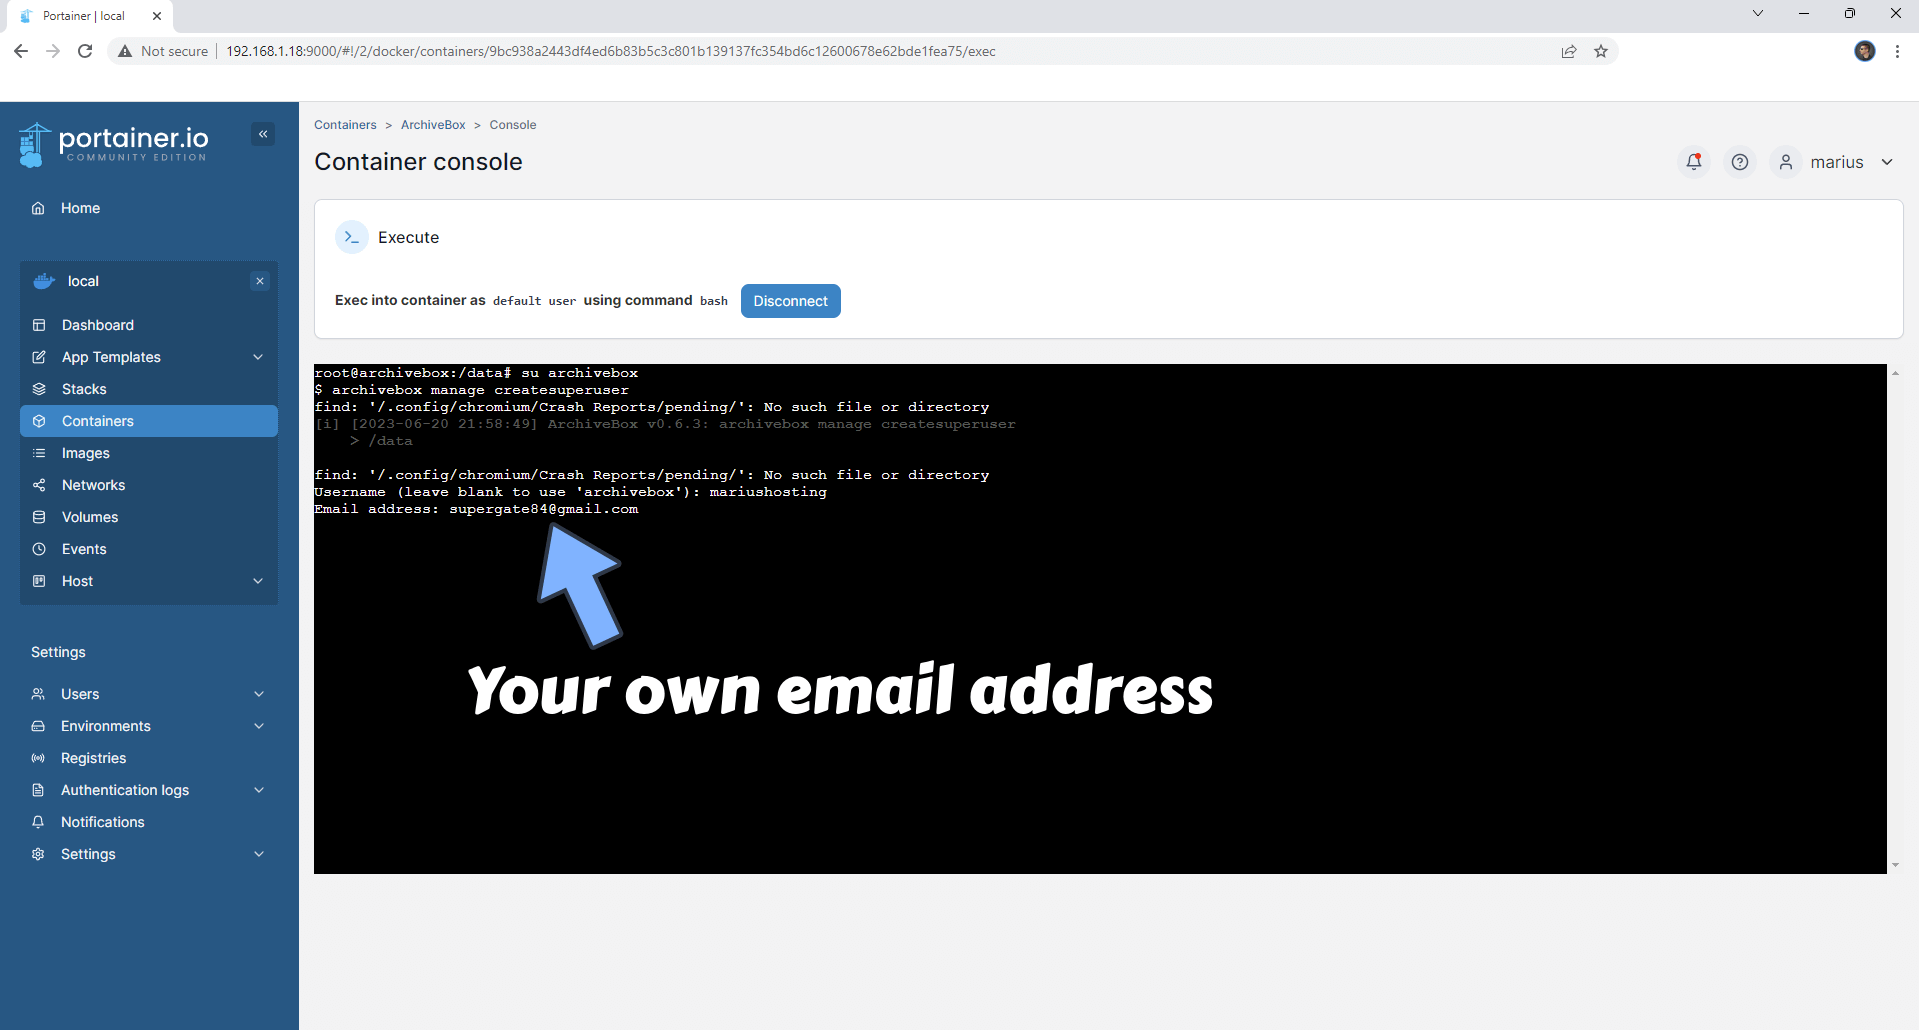
STEP 10
After you press Enter on your Keyboard at STEP 9, you will be asked to type in your own Email Address. Type in your own Email Address and confirm by pressing Enter on your keyboard. Follow the instructions in the image below.
-
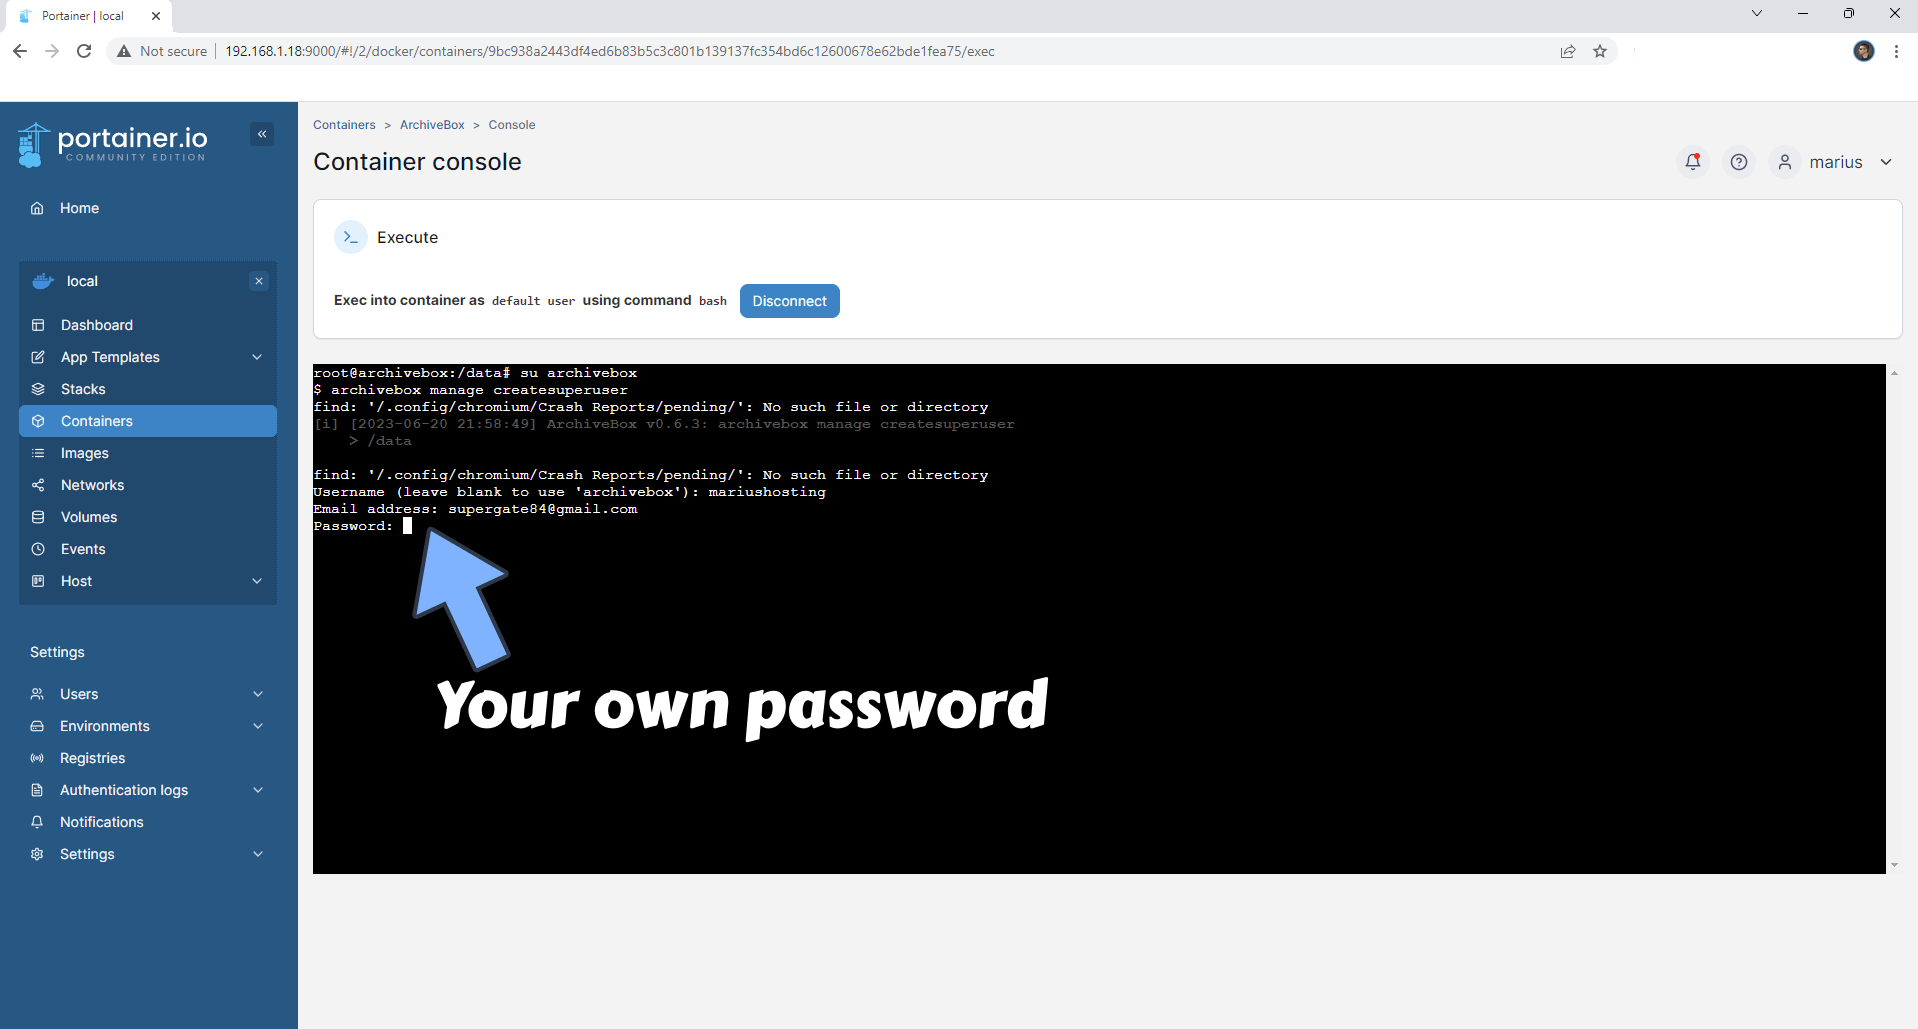
STEP 11
After you press Enter on your Keyboard at STEP 10, you will be asked to type in your own Password. Type in your own Password and confirm by pressing Enter on your keyboard. Follow the instructions in the image below.
-
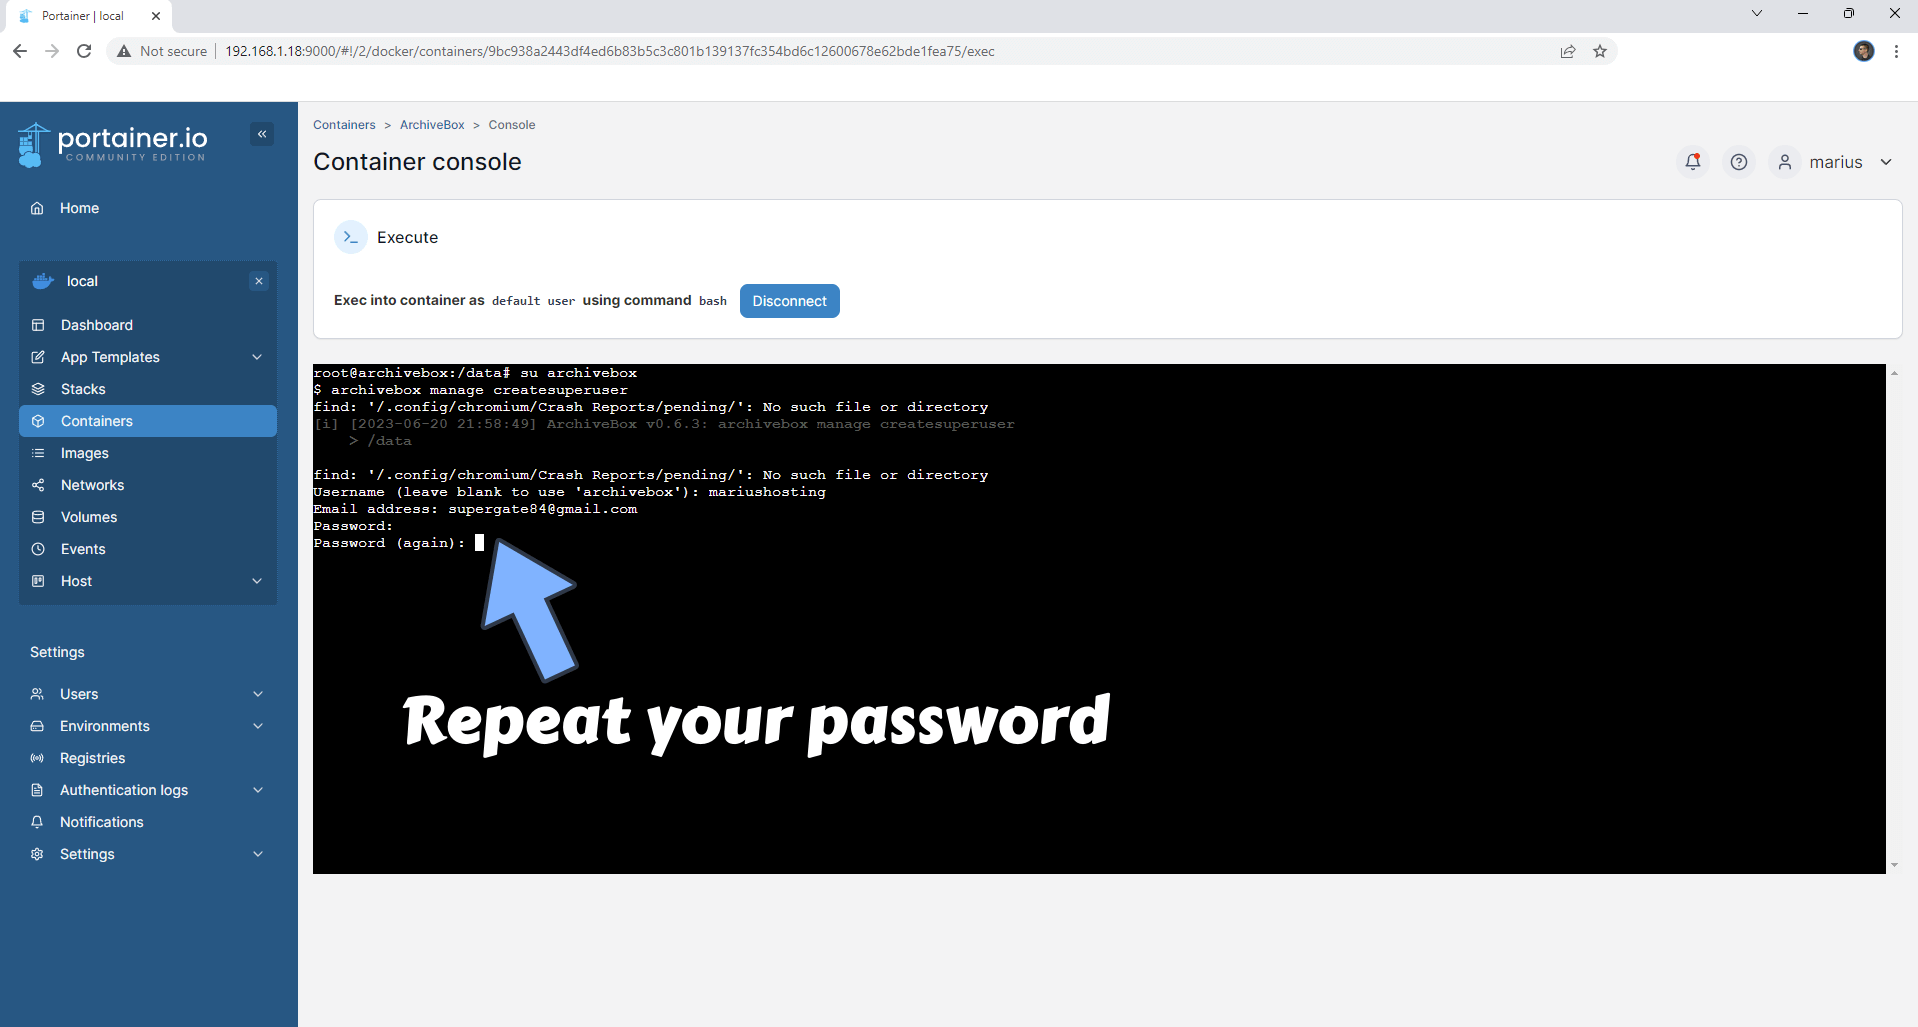
STEP 12
After you press Enter on your Keyboard at STEP 11, you will be asked to type in your Password again. Type in your Password again and confirm by pressing Enter on your keyboard. Follow the instructions in the image below.
-
STEP 13
After a few seconds you will get a message in the terminal that says: “Superuser created successfully.“.
-
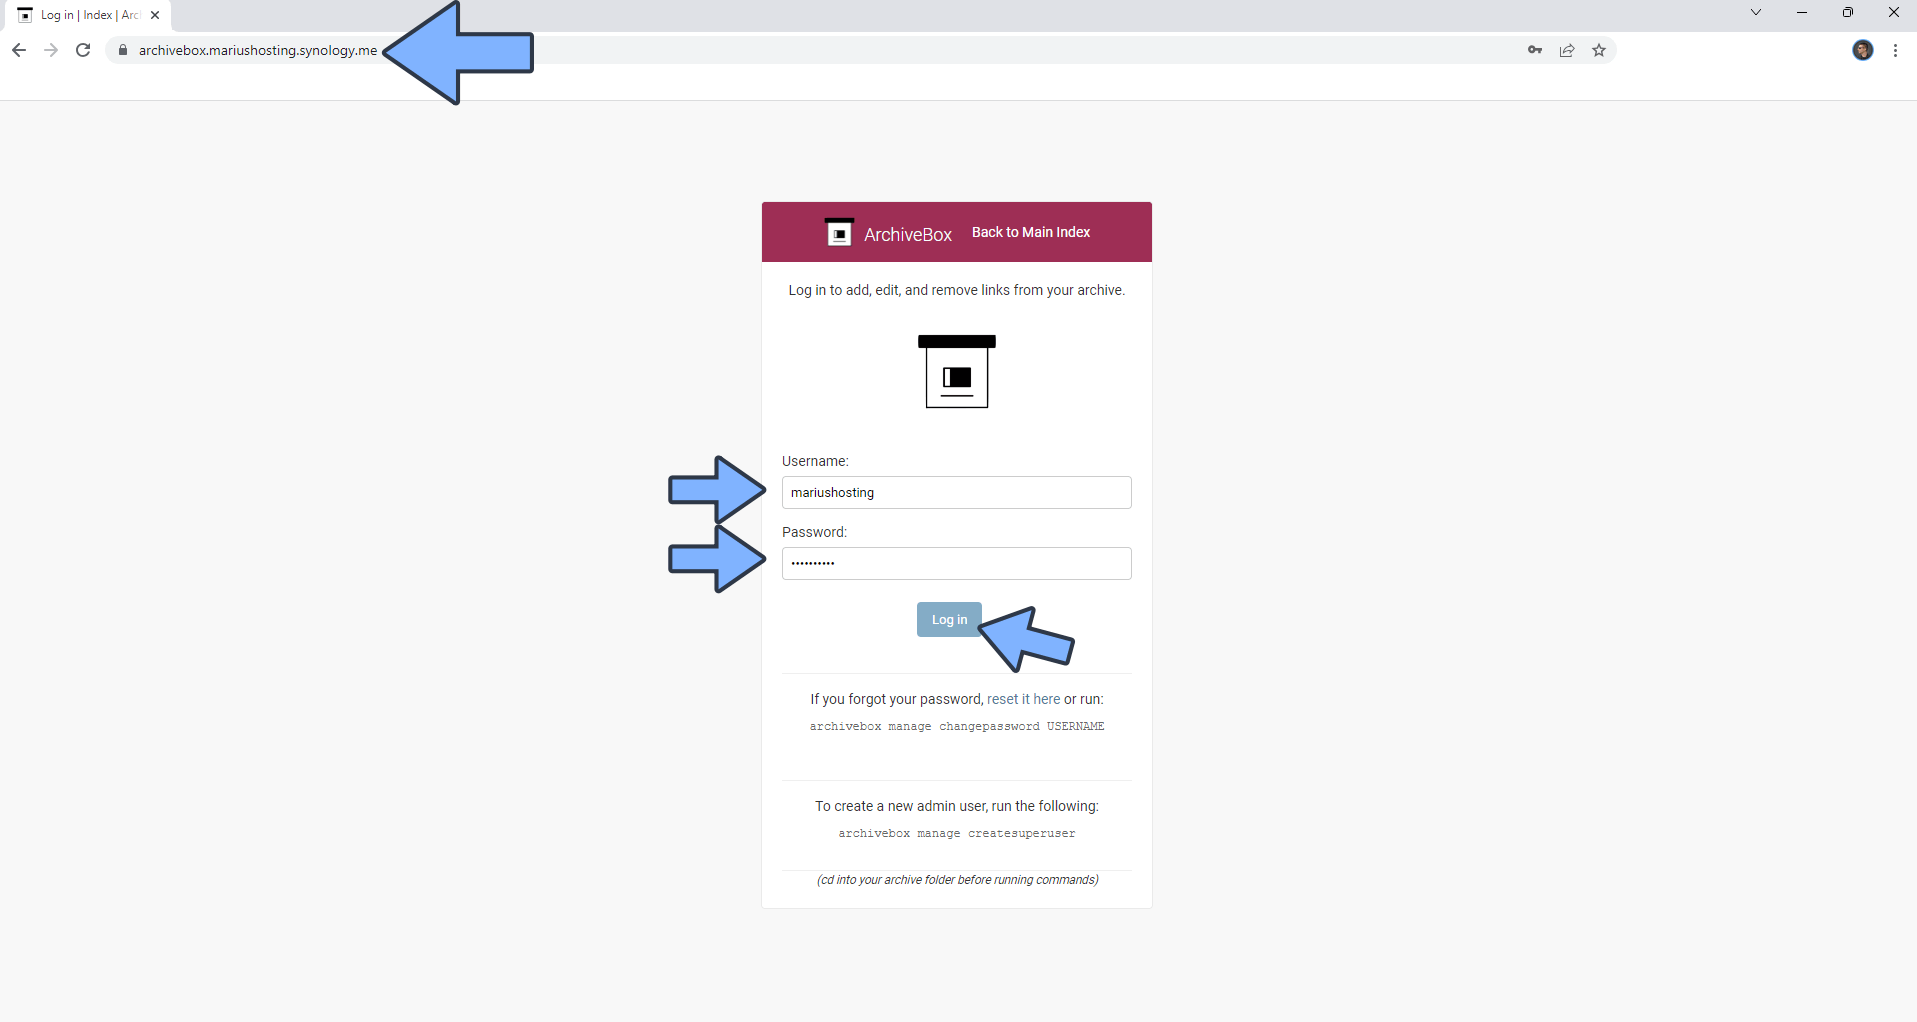
STEP 14
Now open your browser and type in your HTTPS/SSL certificate like this https://archivebox.yourname.com =e. Type in your own Username and Password that you have previously created at STEP 9 and STEP 11, respectively. Click Log in. Follow the instructions in the image below.
-
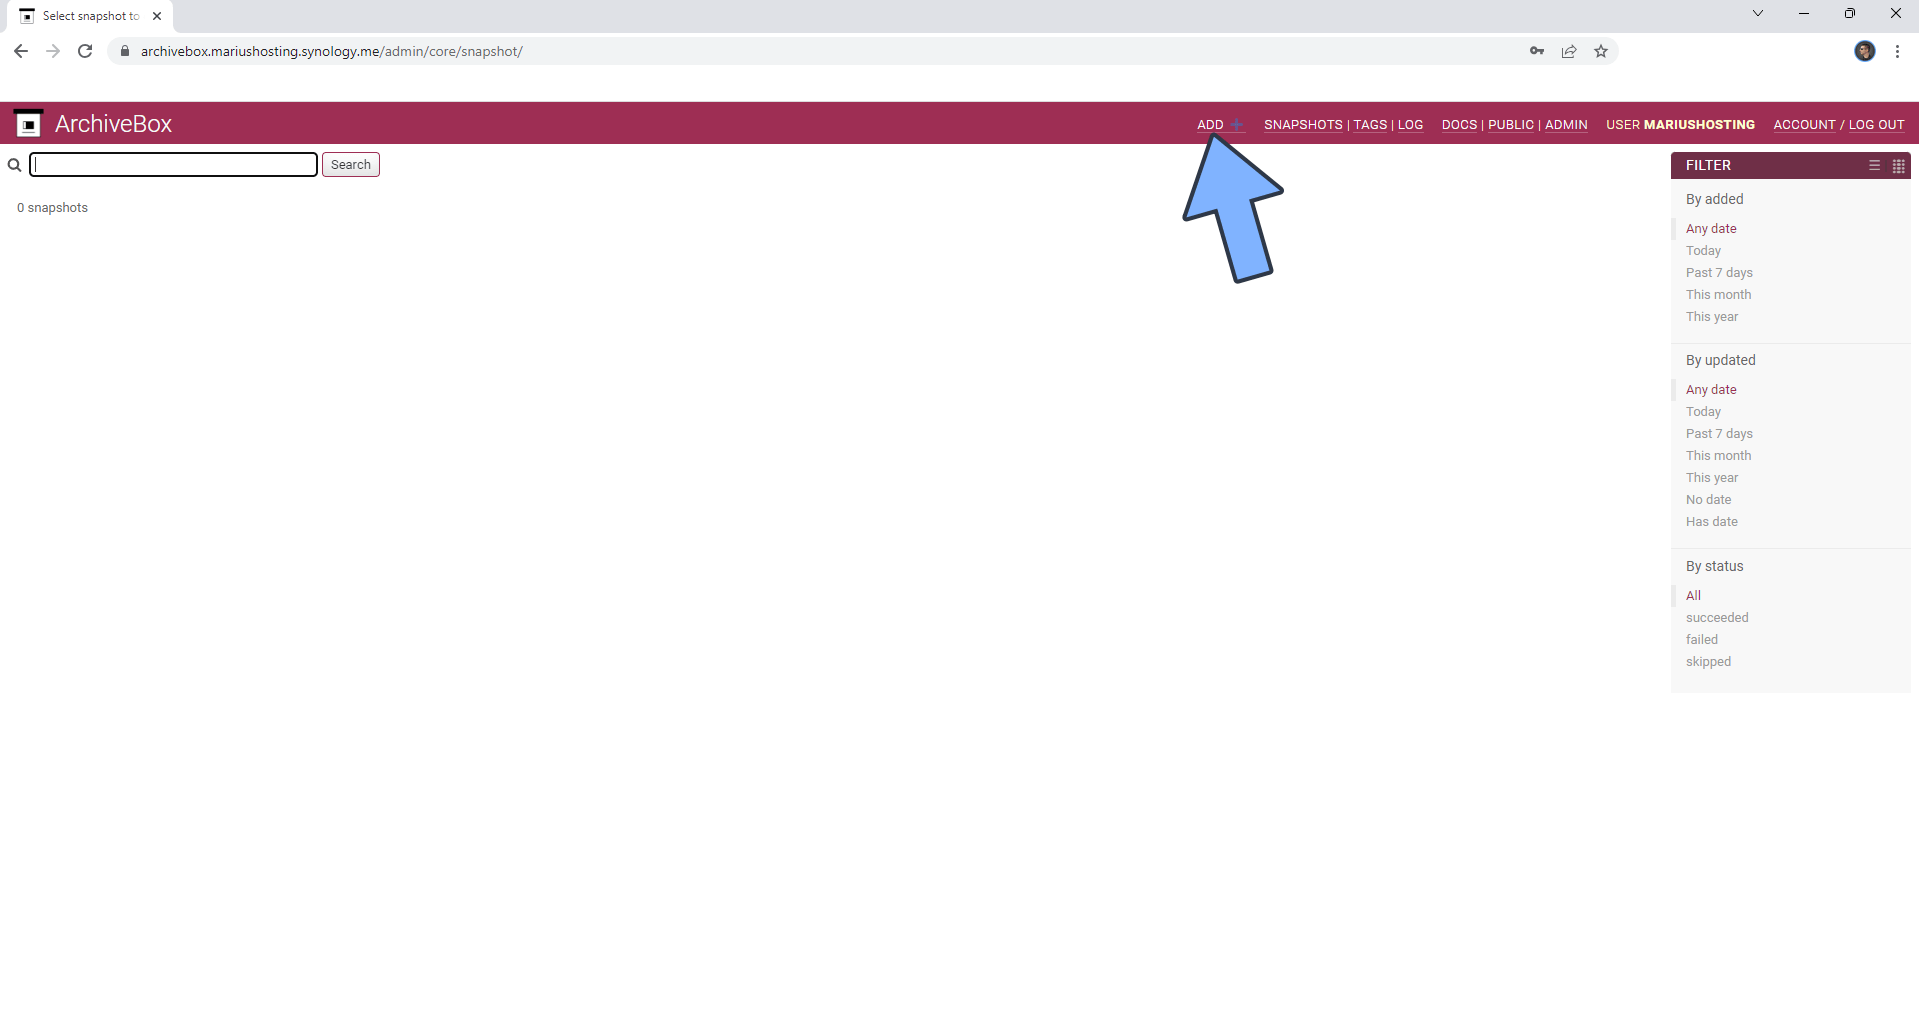
STEP 15
Click ADD+ to add your first website. Follow the instructions in the image below.
-
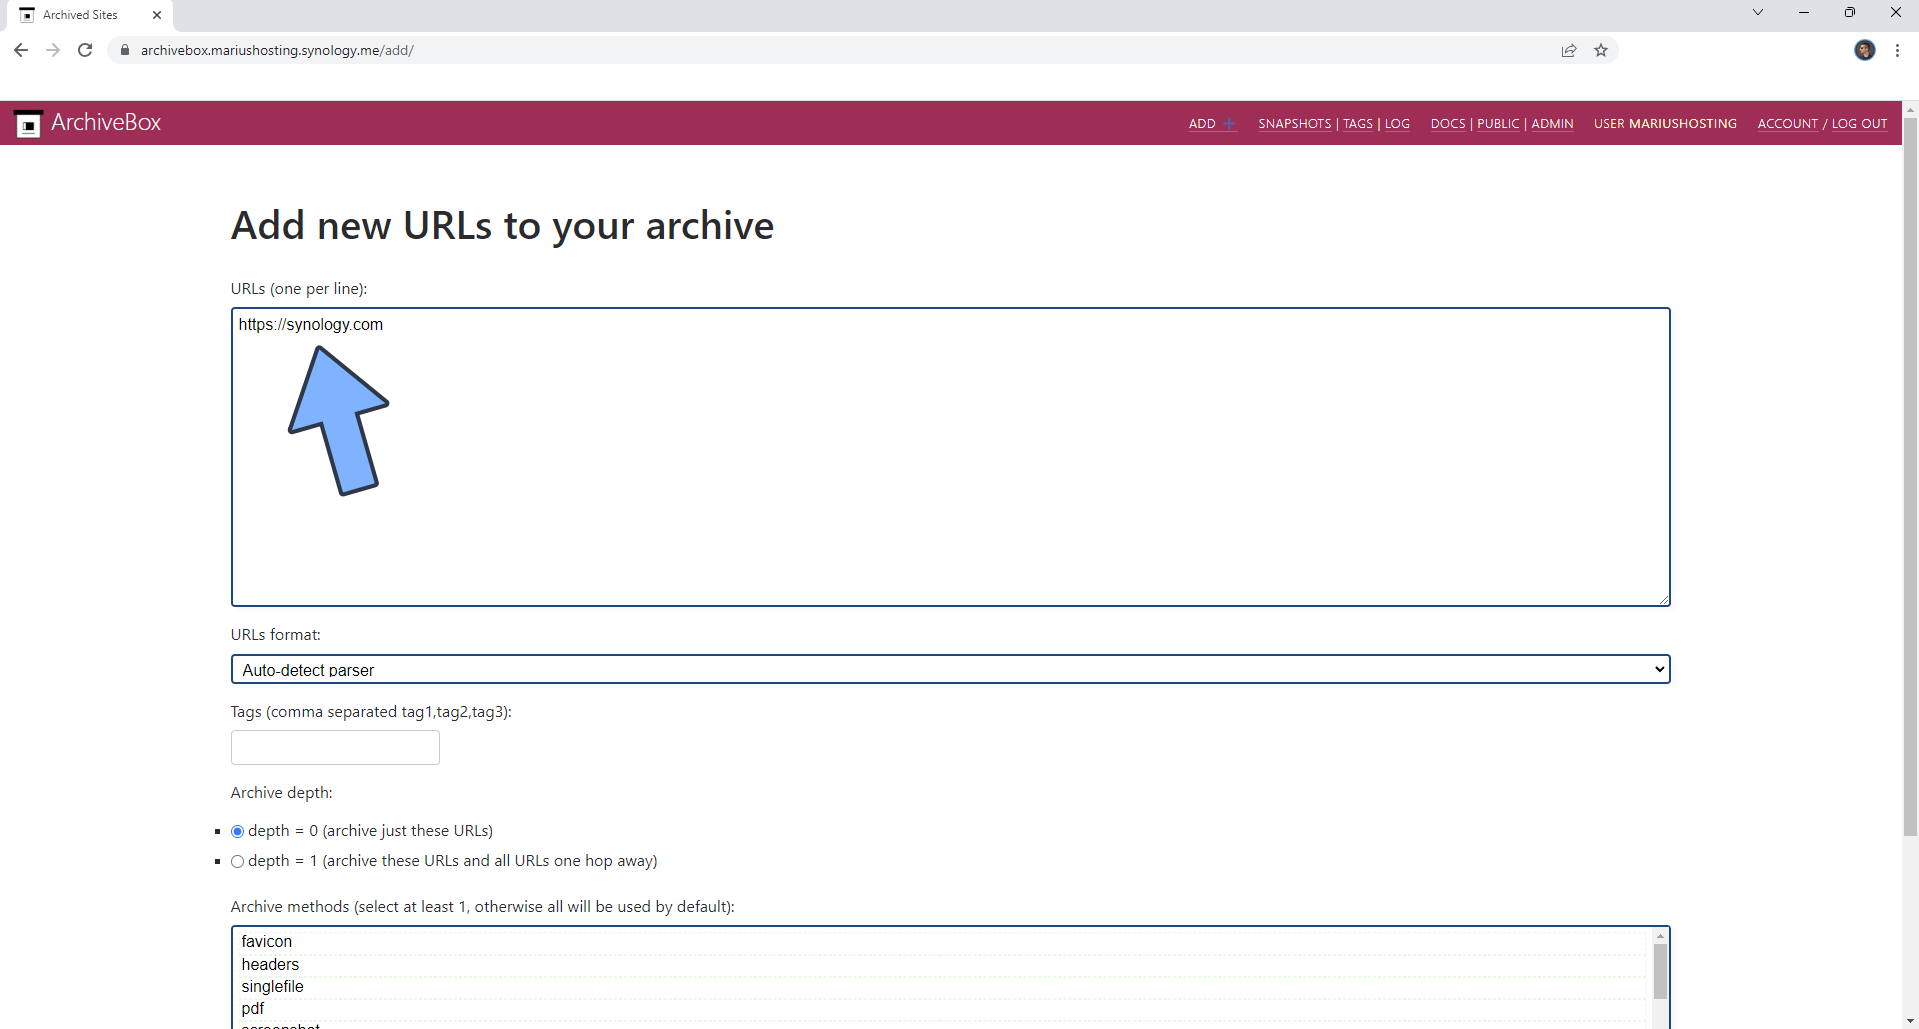
STEP 16
Add new URLs to your archive. Follow the instructions in the image below.
-
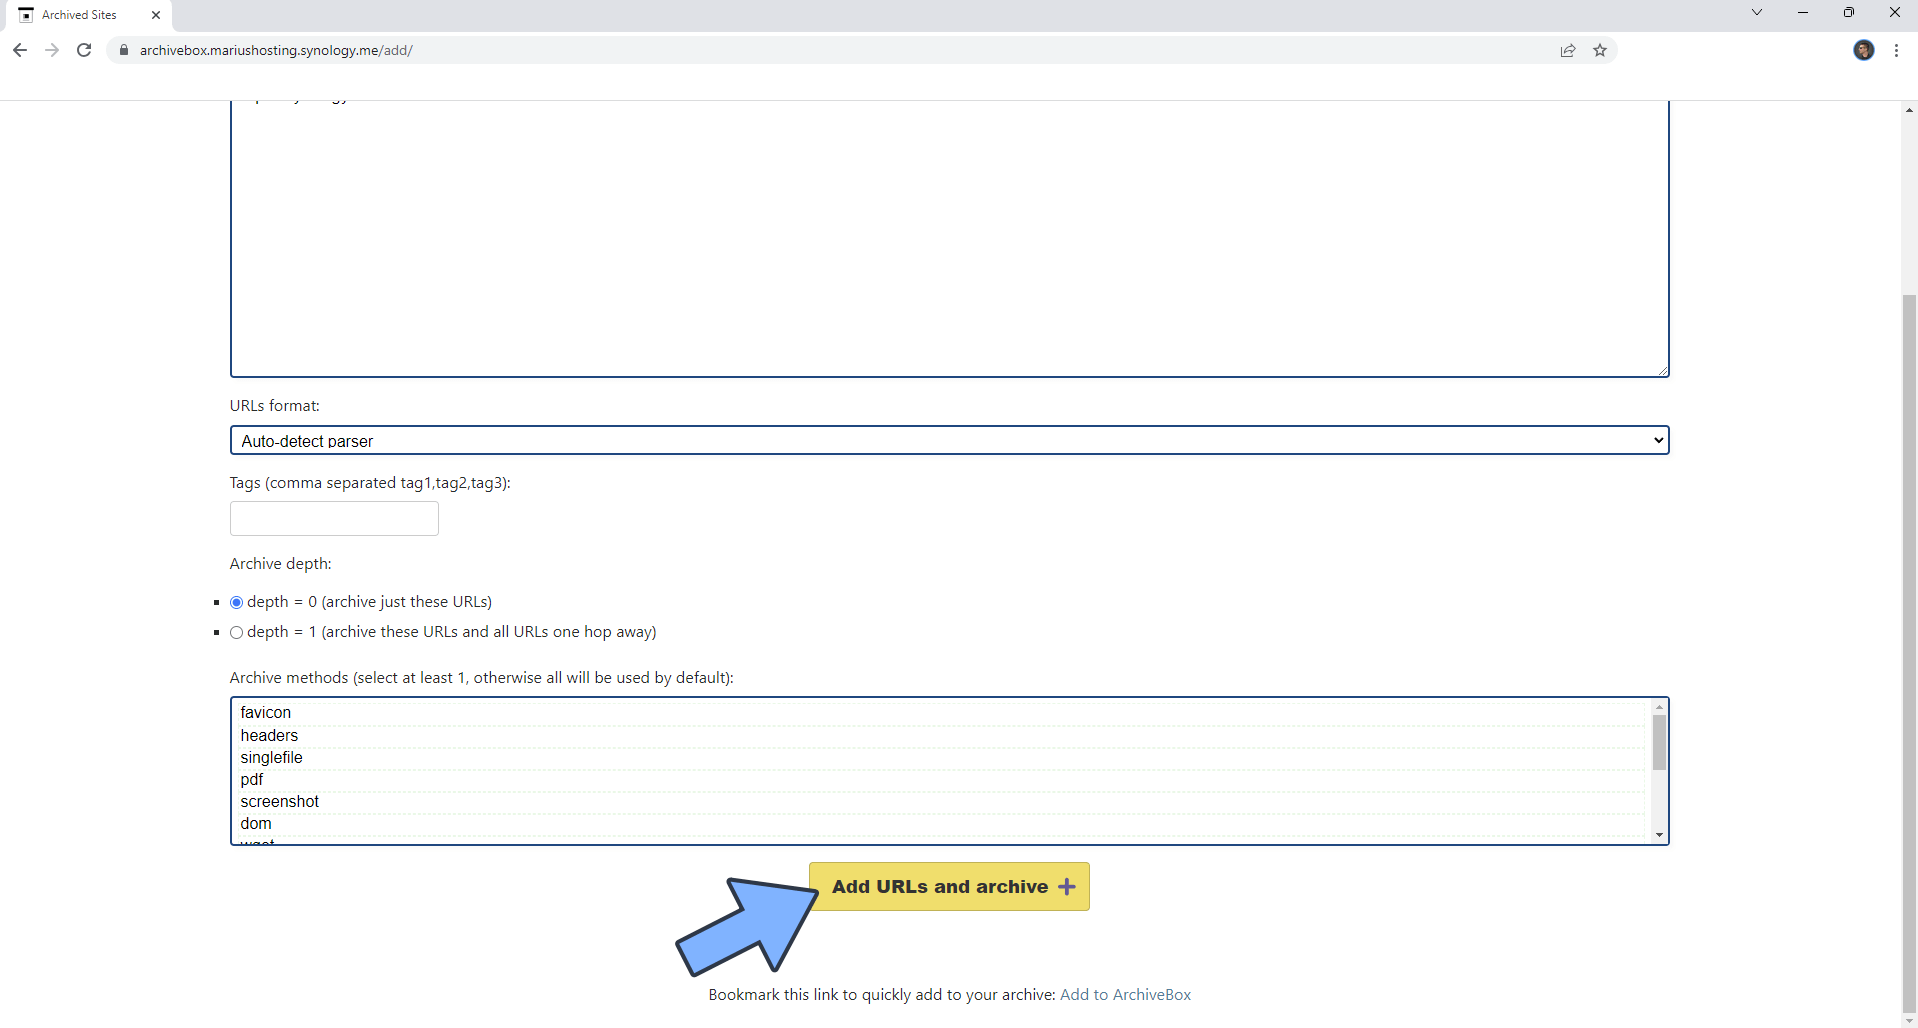
STEP 17
Scroll down the page then click Add URLs and archive +. Follow the instructions in the image below.
-
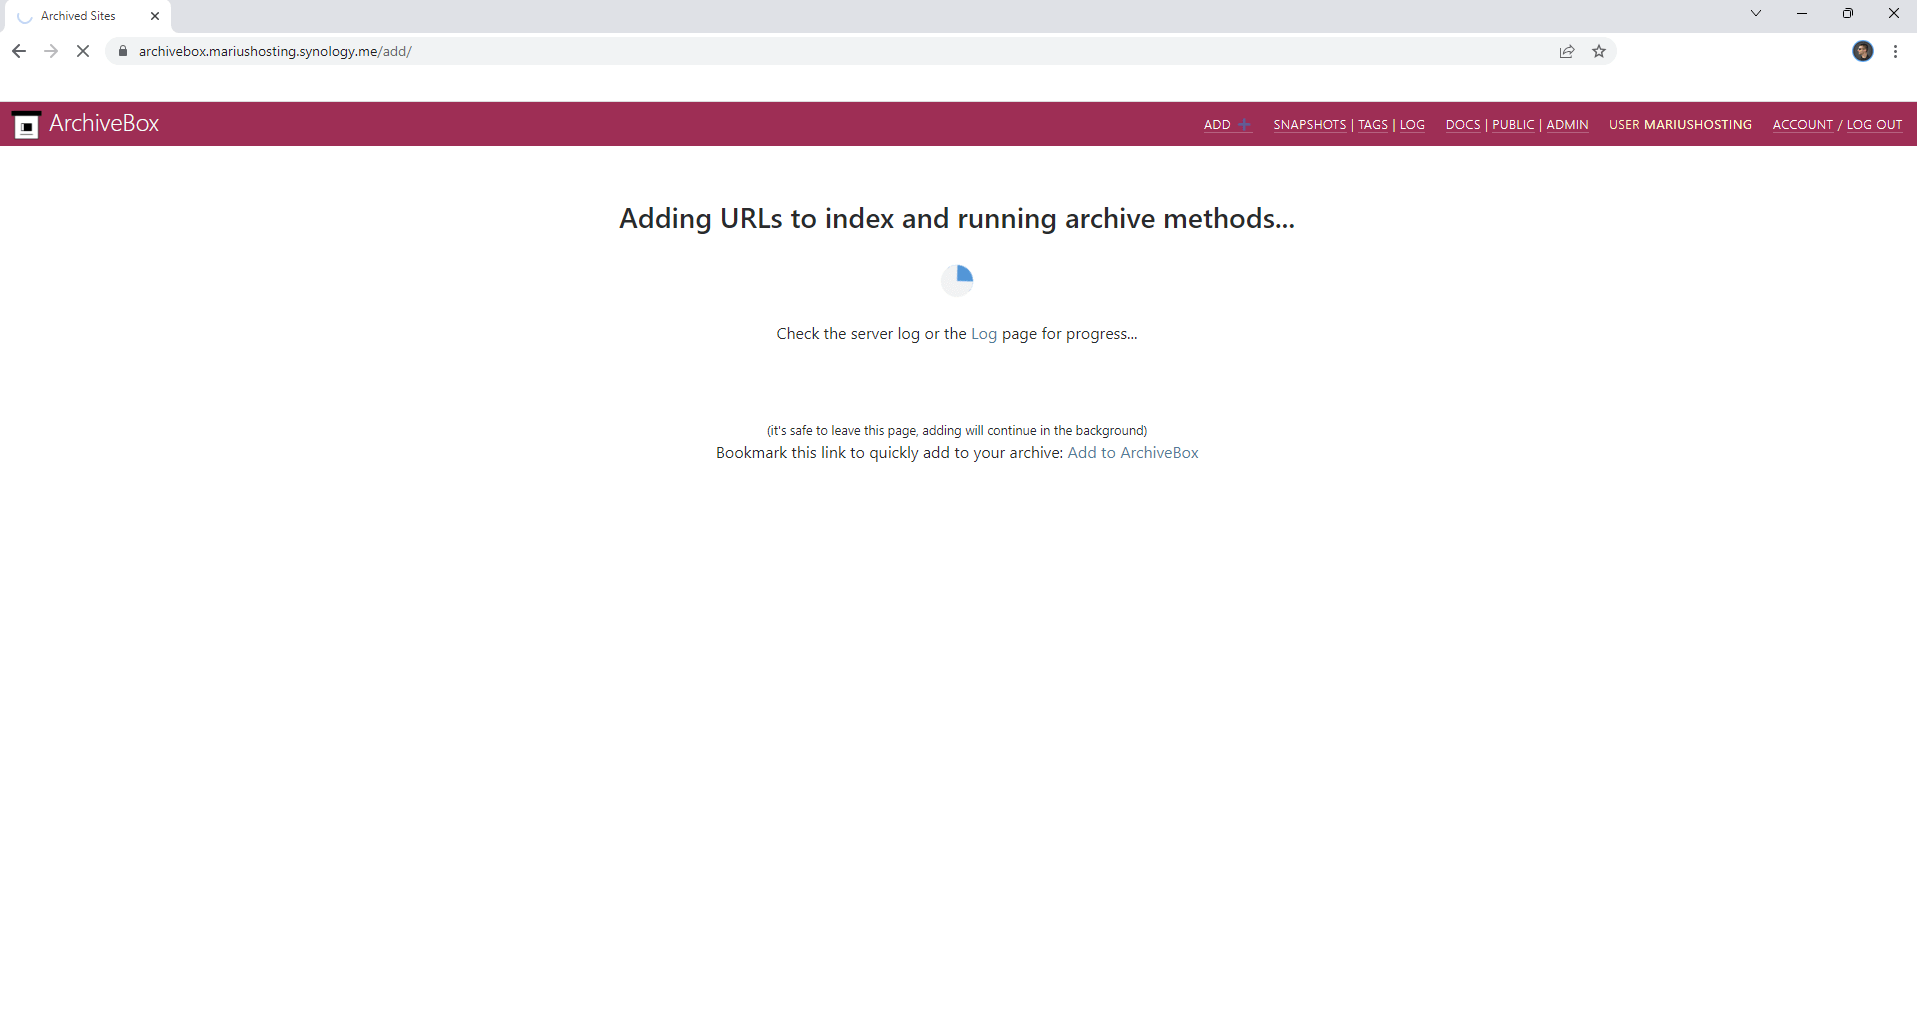
STEP 18
Wait a few minutes.
-
STEP 19
Your ArchiveBox at a glance!
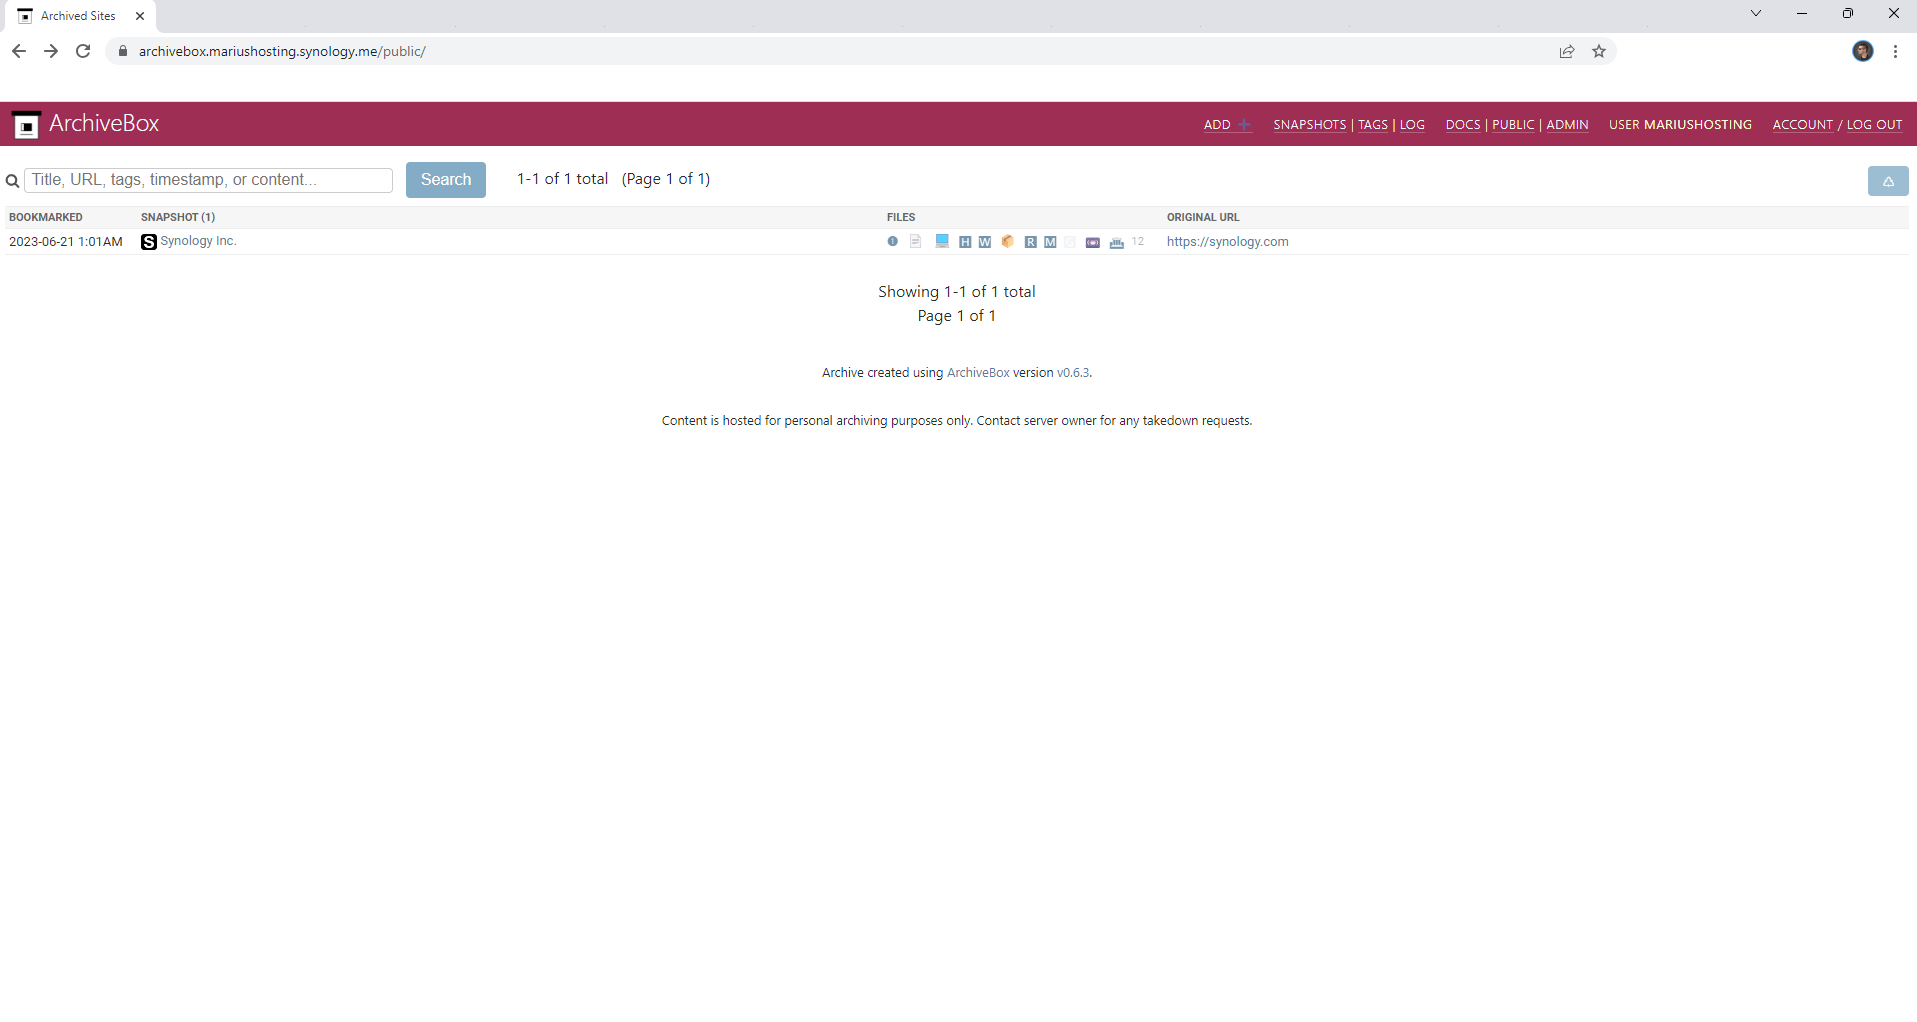
Enjoy ArchiveBox!